BERNINA Toolbox Example August 2018
Bernina World of Sewing
This Web page is simply a (second) quick (hopefully quick..) overview of this BERNINA Toolbox example (The first example was from November, 2017 and is pointed-to later on this Web page). If, as you browse the following, the topic is of sufficient interest to contact our Webmaster, feel free to do so via eMail:
send mail to: BWOSToolbox at Bernina World of Sewing
August 2018
What Was Done
- I was provided (on my computer) with previously - digitized files (English-language Alphabet Letters). The letters were made available, one letter per week, via the "BERNINA Blog Newsletter" (Europe). The letters were provided inside a ZIP file and were provided in a number of formats; I used the "EXP" format as input to My Toolbox (the BERNINA Toolbox). After extracting the letter from the provided-ZIP and moving the letter to the BERNINA Toolbox, I had the Toolbox export the letter back to the computer (that will be, again, in EXP format). I used both ART and EXP versions as input to the BERNINA Toolbox, simply for testing, Both approaches ended up in similar EXPs back onto the host, as shown below).
-
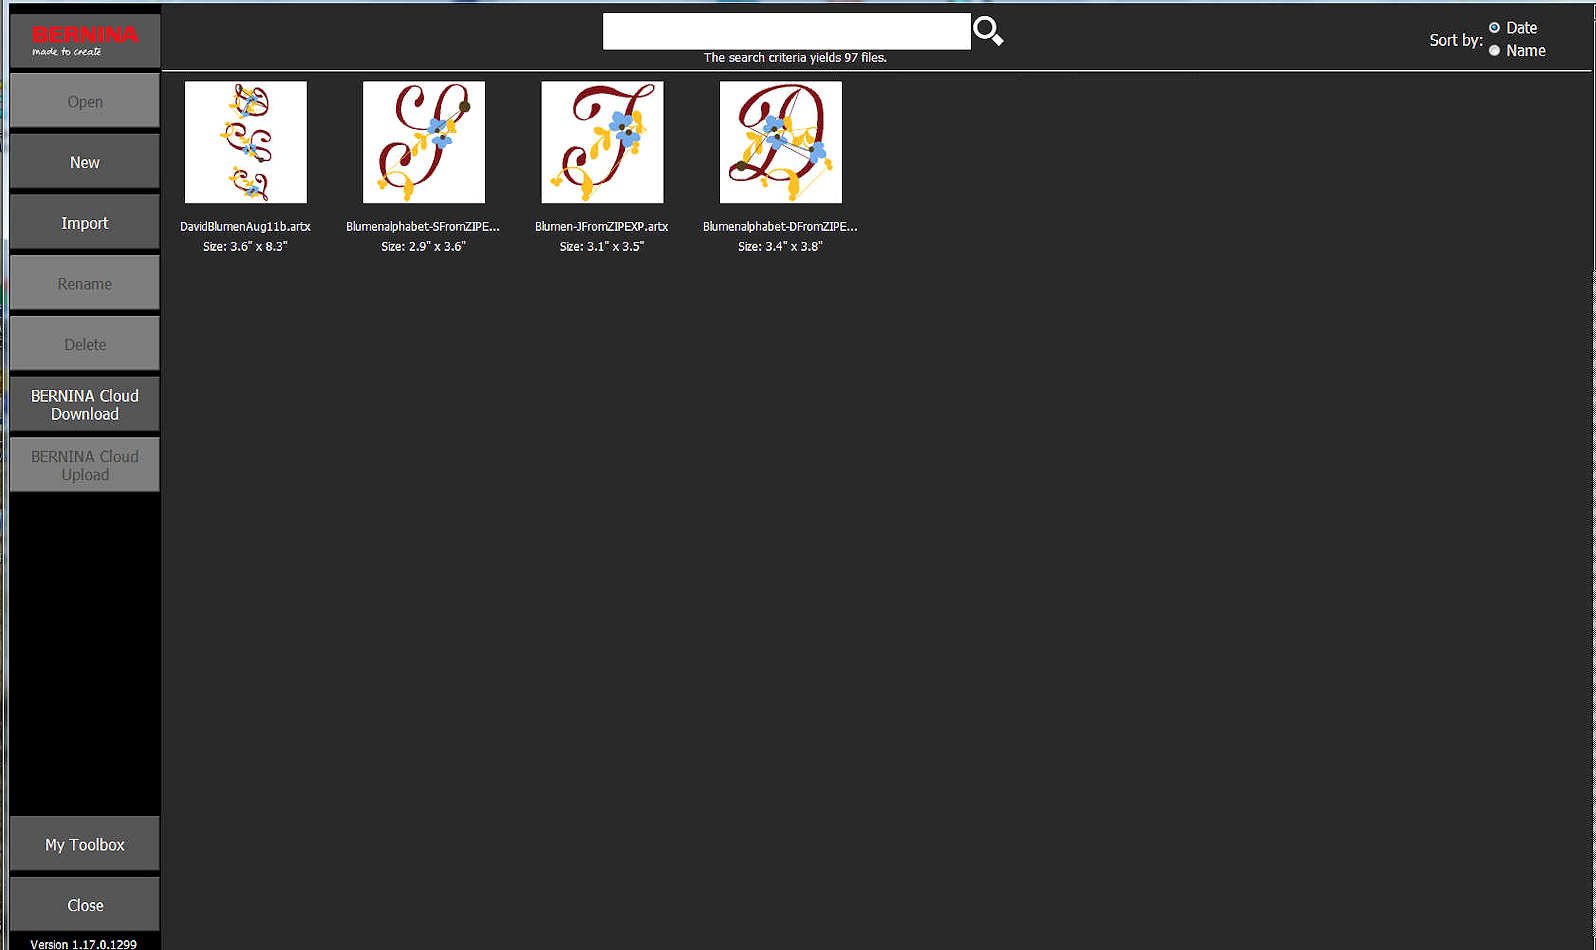
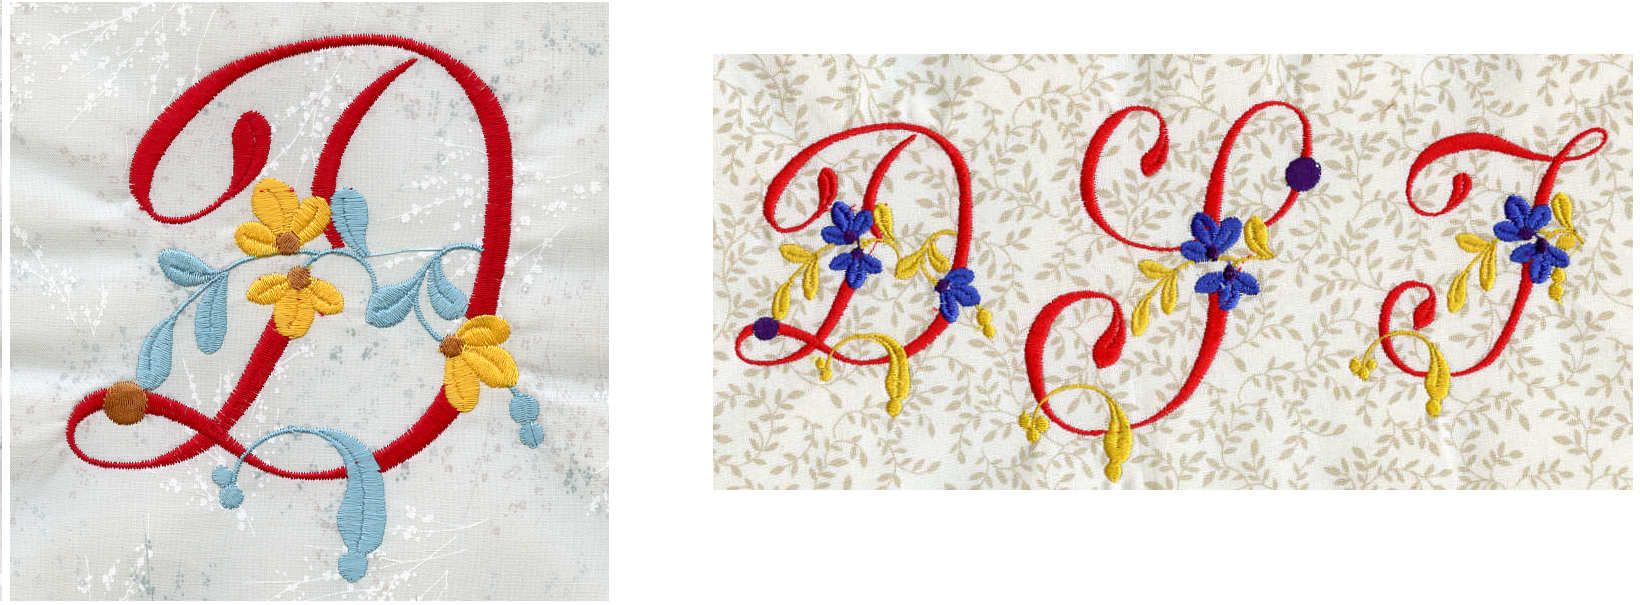
I, then, used BERNINA ARTlink8 to see the images as shown below (simply to get things started for this example's discussion). The BERNINA Toolbox example, itself, is shown following the individual letters.
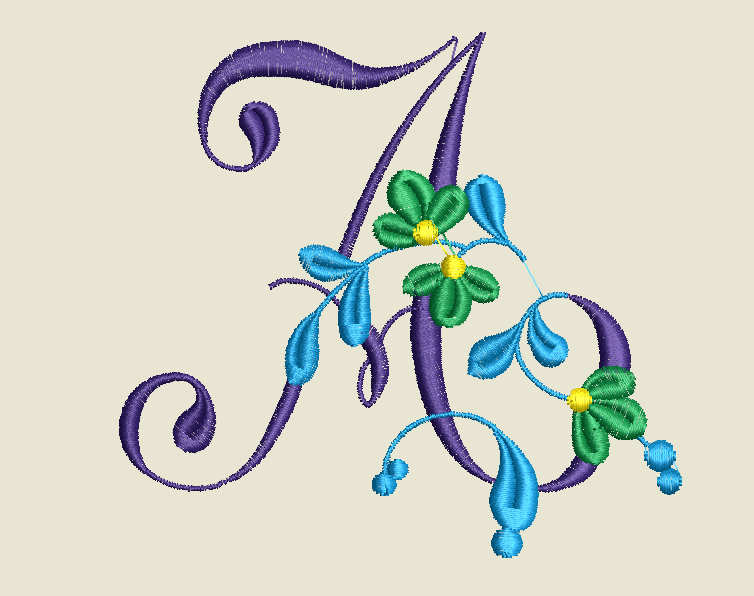
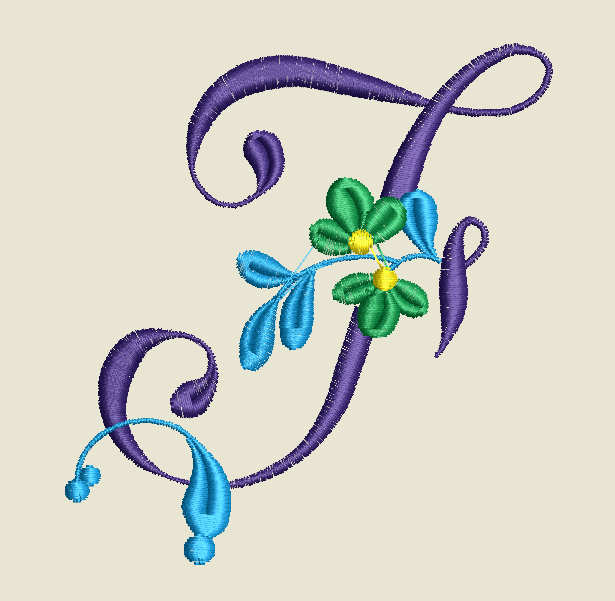
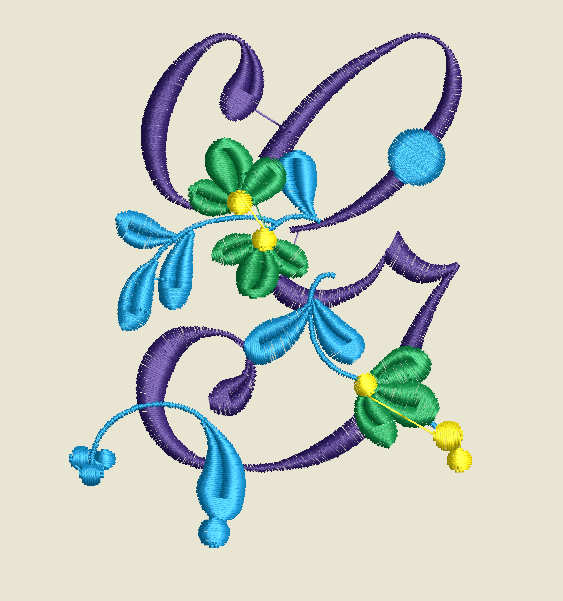
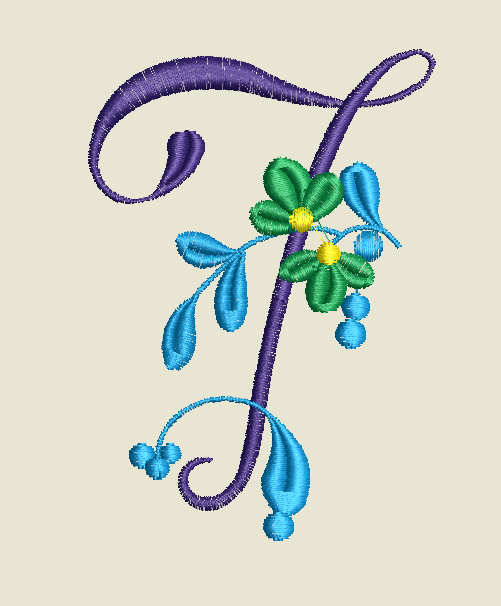
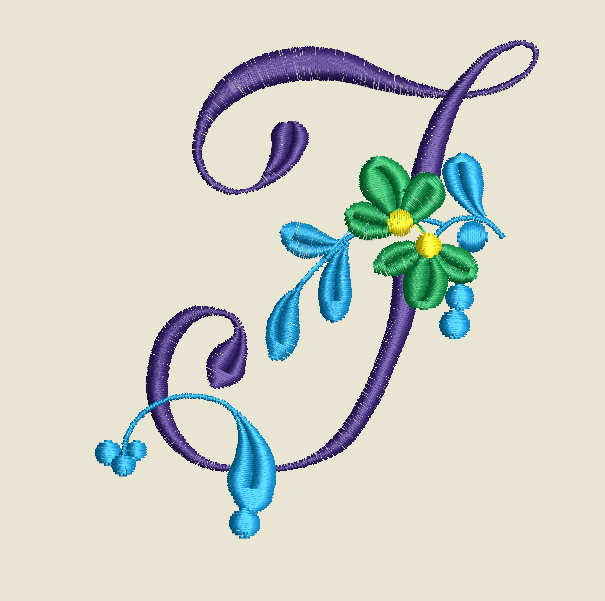
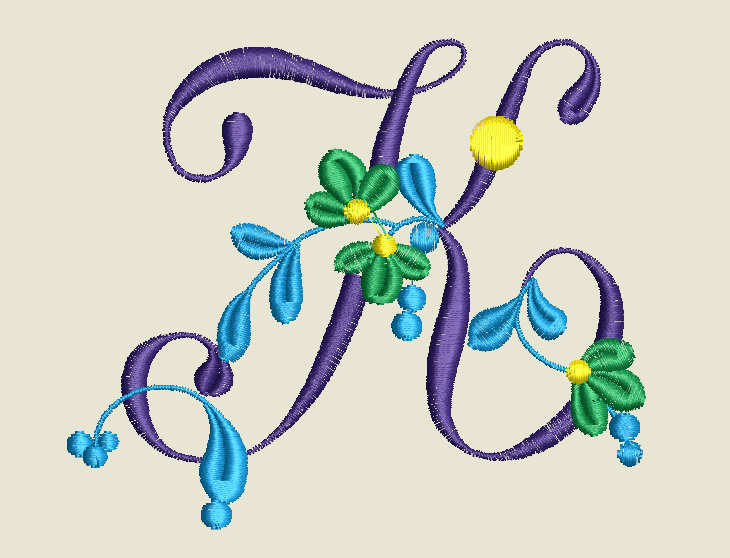
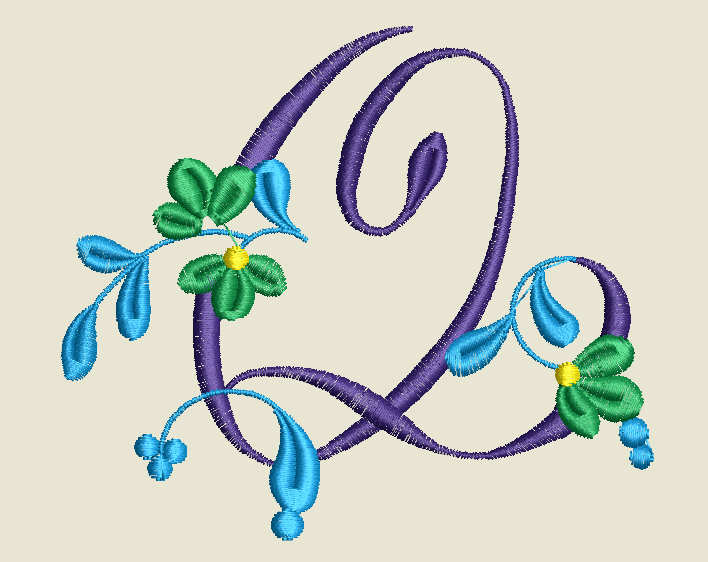
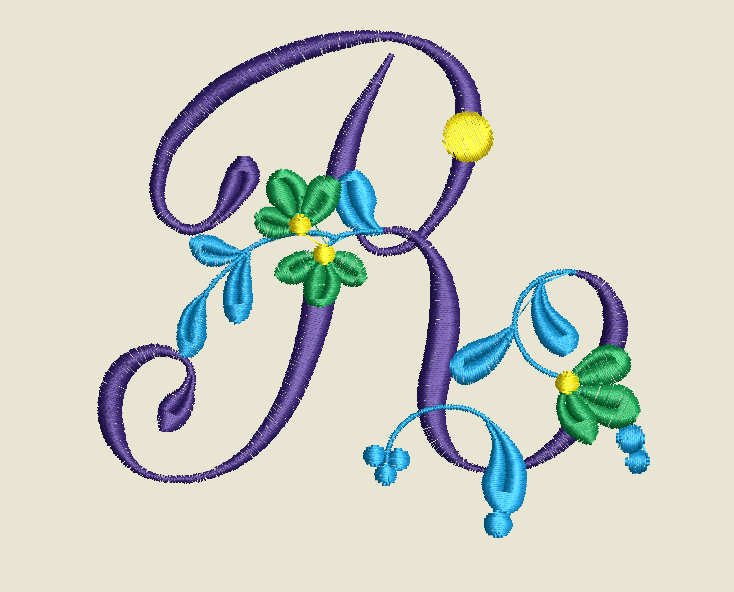
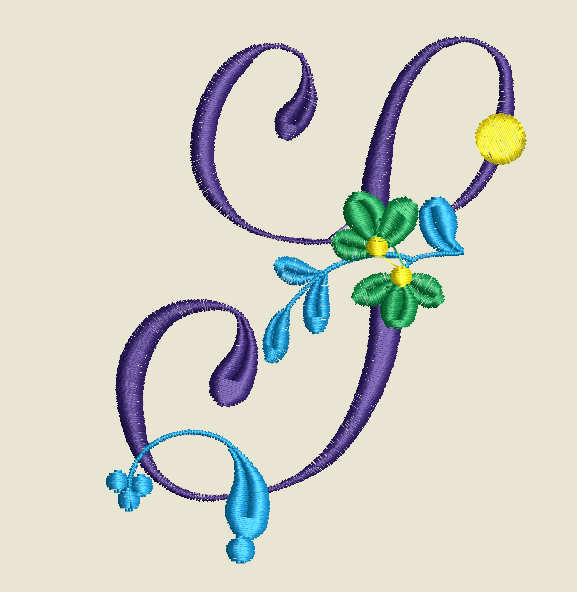
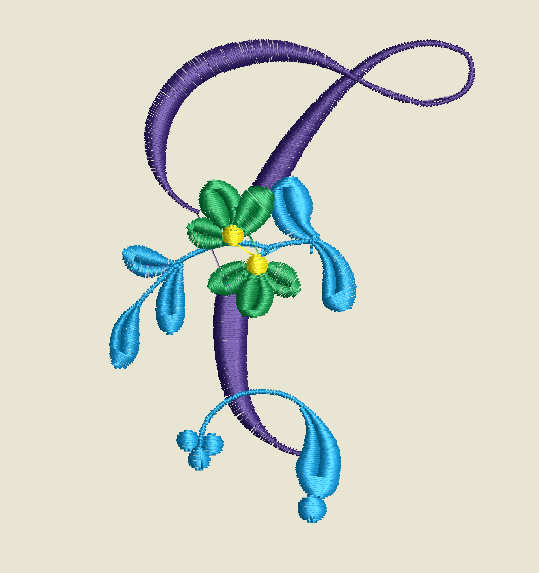
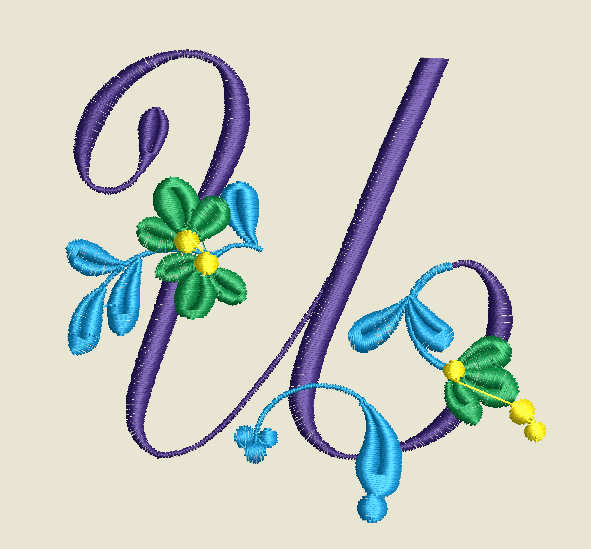
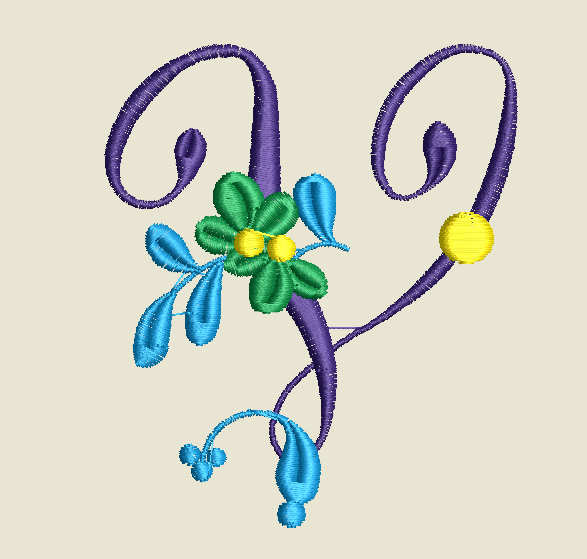
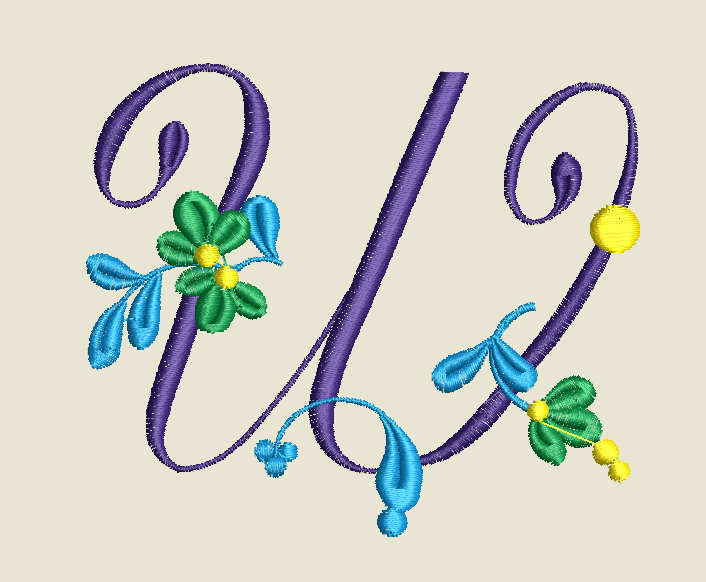
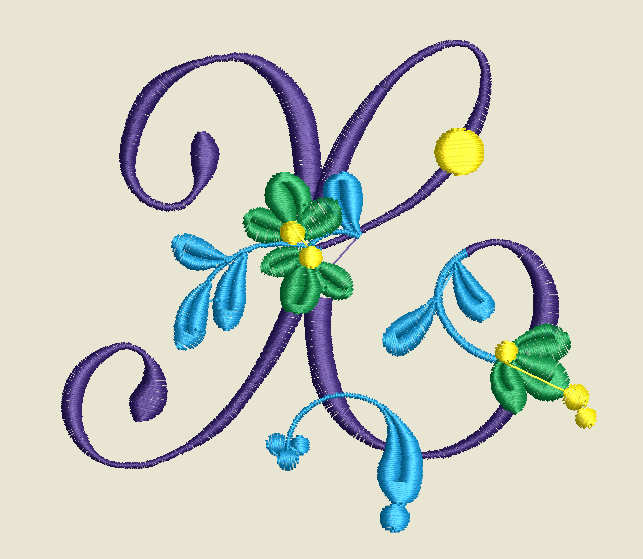
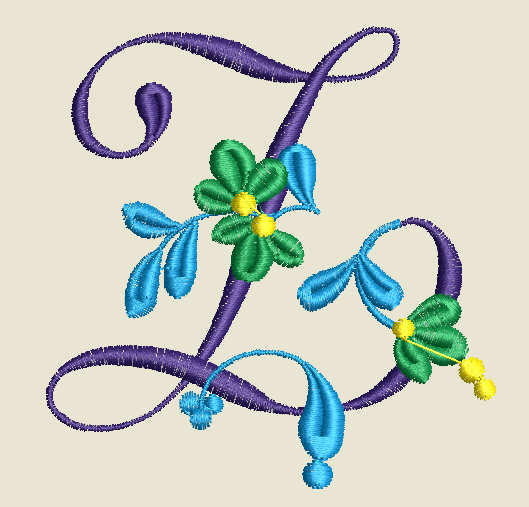
I do not show the above actions; I am assuming the reader of this example understands such. If you DO have any questions. of course, just get back to me via the eMail contact shown on this Web page. In any case, here are the letters: (Clicking on any of the following will show that letter in a larger-sized image).
The last link to the Europe (Swiss) Website that hosted the letter was: (August, 2018) was:
https://blog.bernina.com/de/2018/07/blumenalphabet-das-z-und-damit-der-letzte-buchstabe/?utm_source=wysija&utm_medium=email&utm_campaign=Blog-Newsletter
Thank you to Tatjana Hobrlant who provided the files to us.
This Projects' BERNINA Toolbox Example, August 2018
|
The following summary and screen-images are intended to give you an overview of what was done. They are not intended to instruct/show use of the Toolbox. If you have any questions/comments, of course, send me a note at your convenience:
send mail to: BWOSToolbox at Bernina World of Sewing
-- or, if we catch each other at the Raleigh store: See you, there! Thank you, in advance.
- Have access to a set of already-digitized Alphabet letters. Move these letters to the BERNINA Toolbox.
- Choose three of the letters ("D", "J" and "S" (in this example) and, in turn, move the three letters into a new design within the BERNINA Toolbox.
- Arrange the three letters to be: DSJ
- Make the "D" and the "J" smaller-sized than the "S": DSJ.
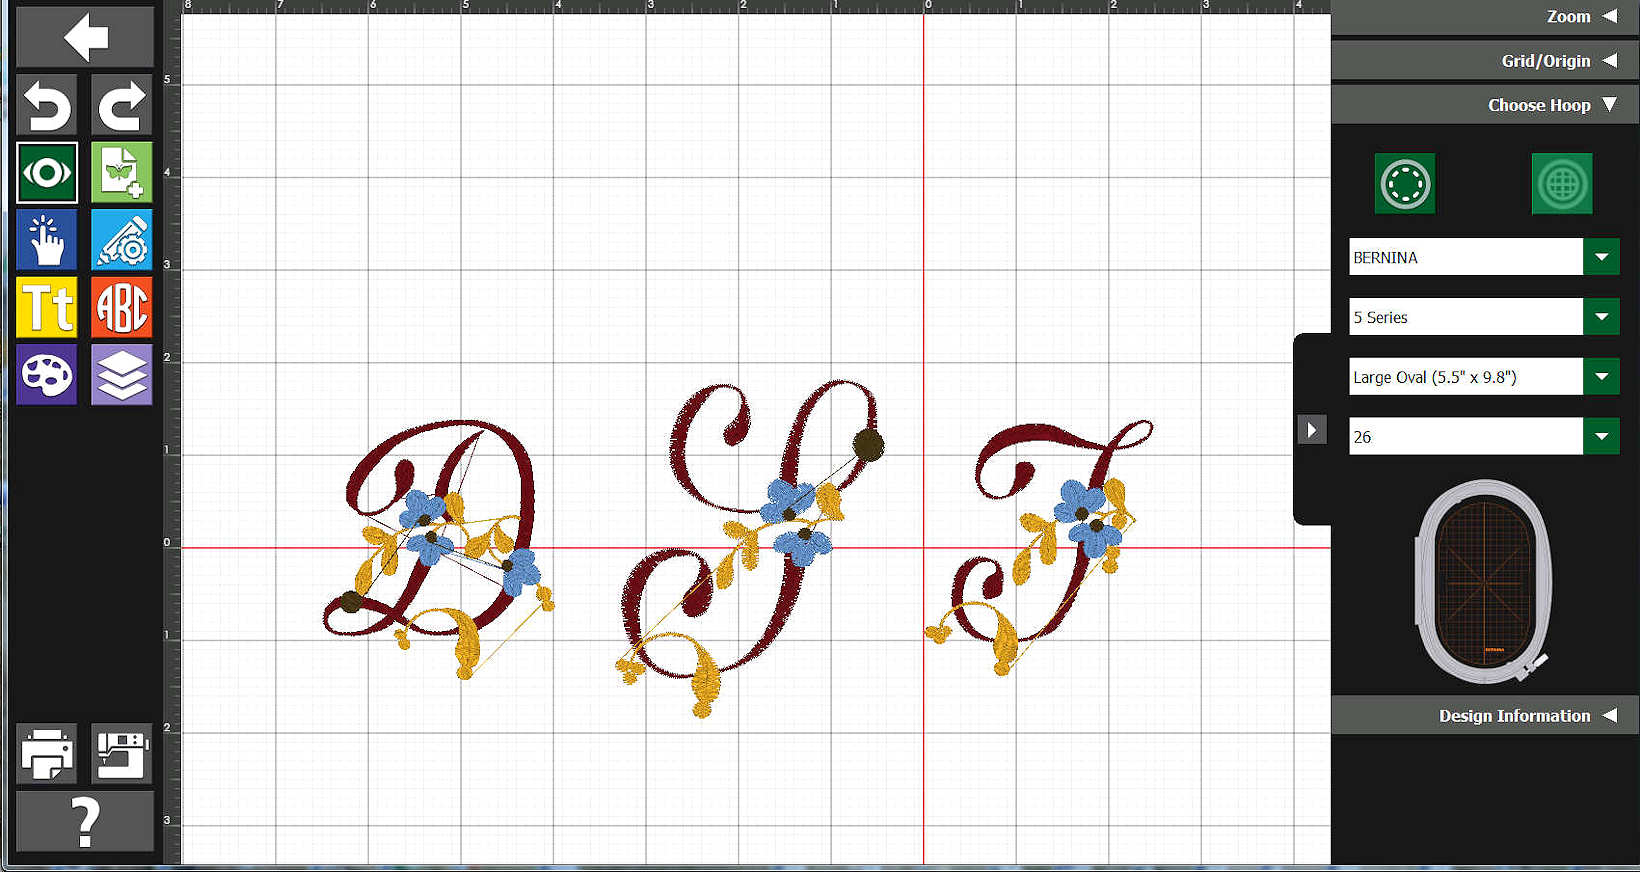
- Ensure the new design will fit within a particular embroidery hoop.
- Rotate the set-up-now design to fit within the chosen embroidery hoop (when the design will be ultimately stitched out).
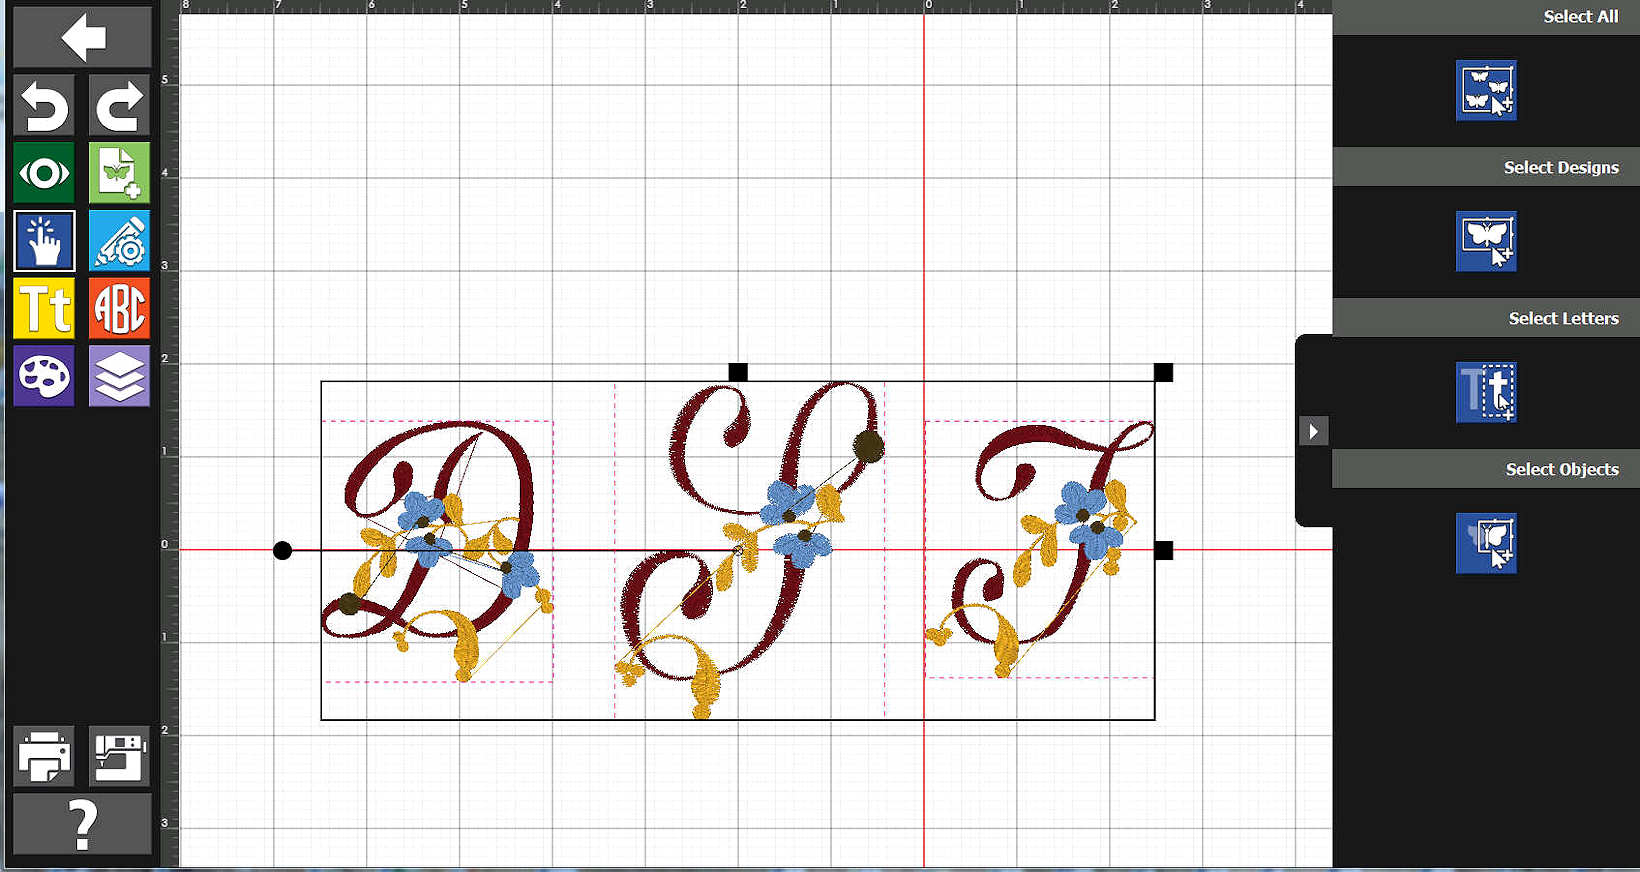
- Finalize the design as desired, working with design as DSJ (grouped together) or "D" or "S" or "J" ("un-grouped").
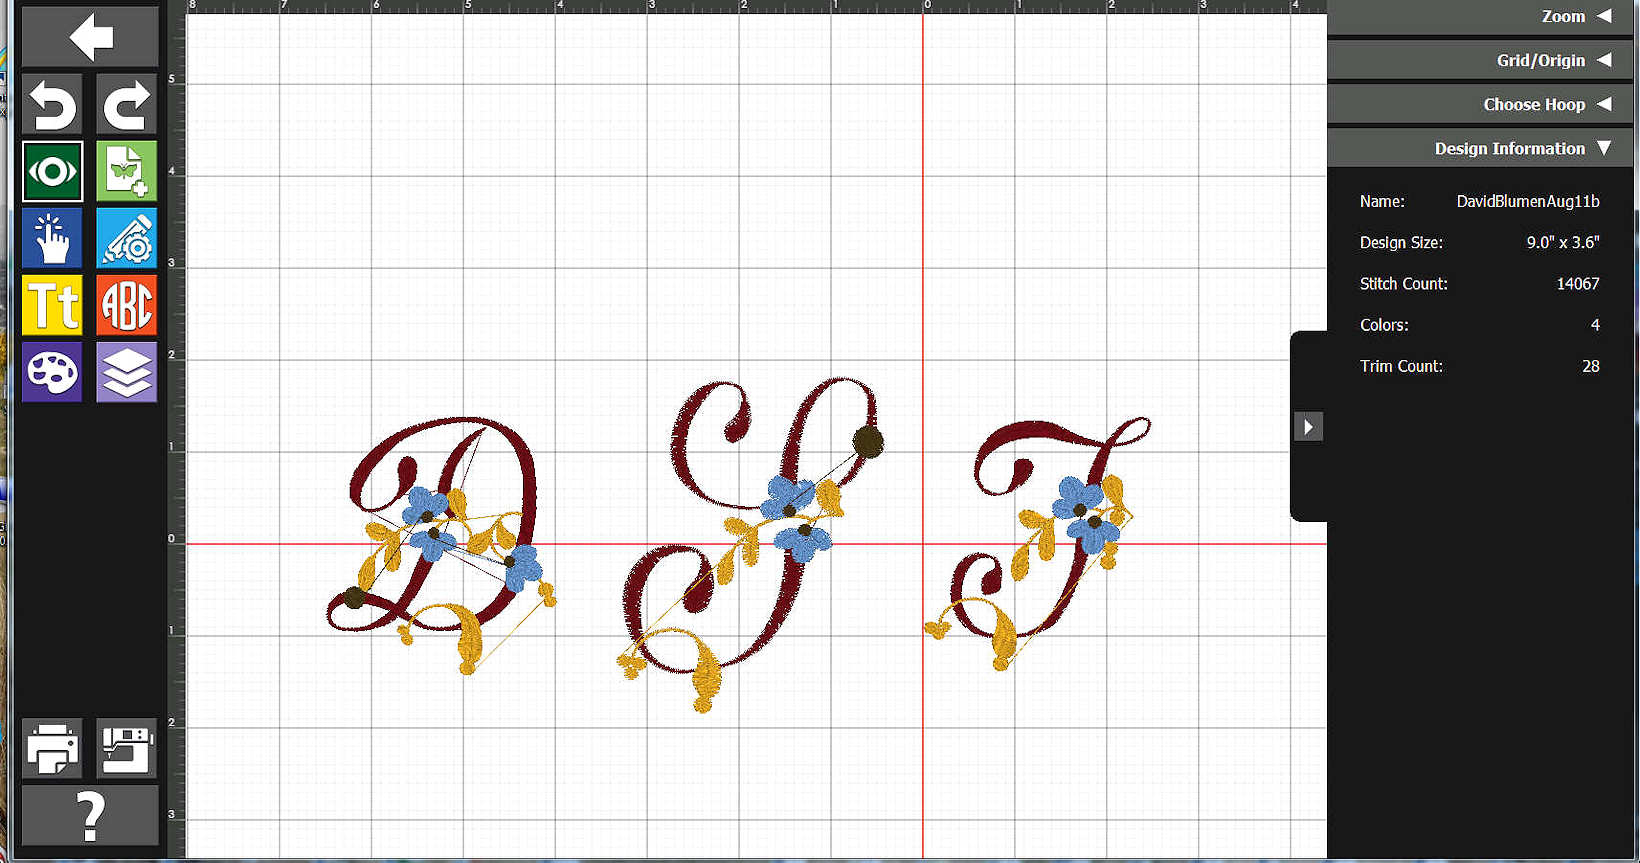
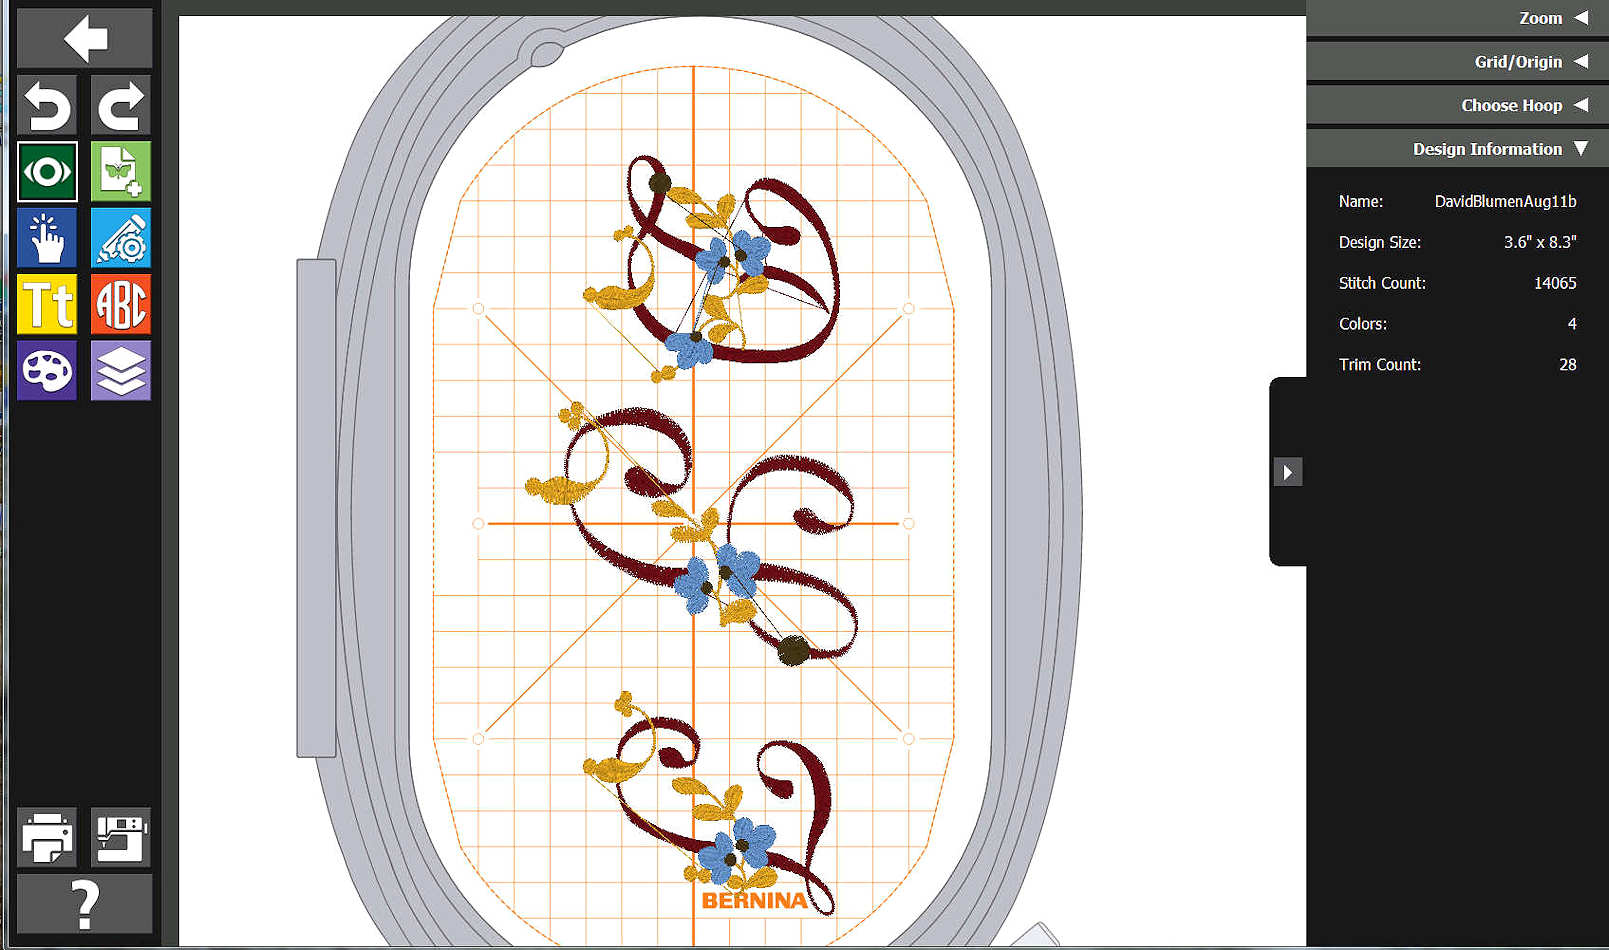
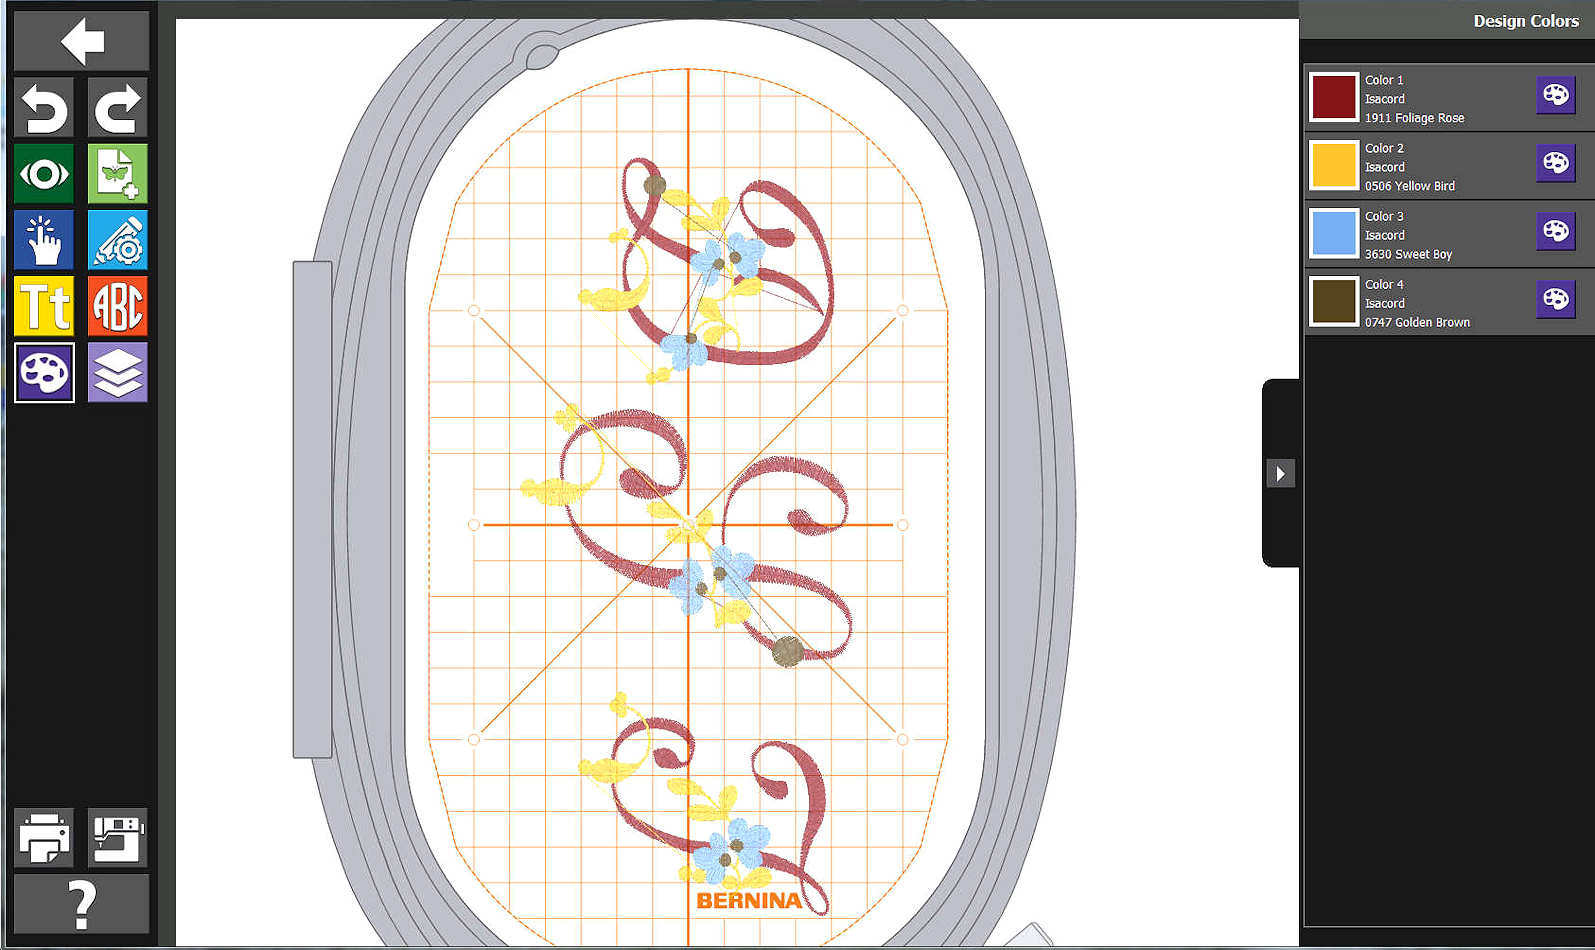
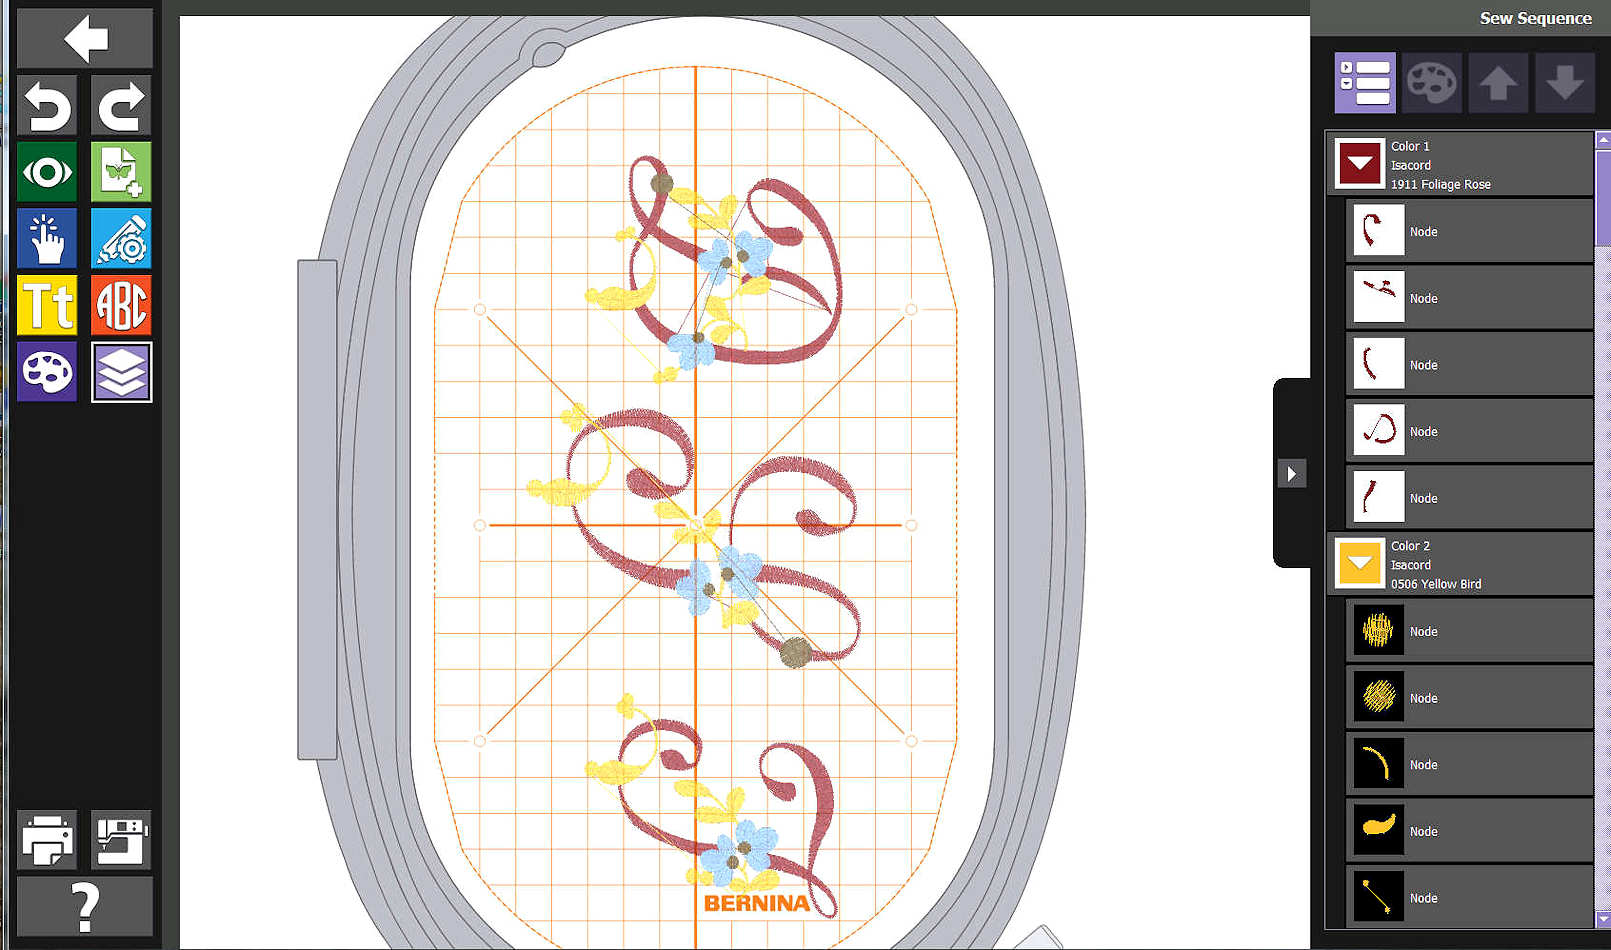
- Review the planned colors for the design and other specifications of the design.
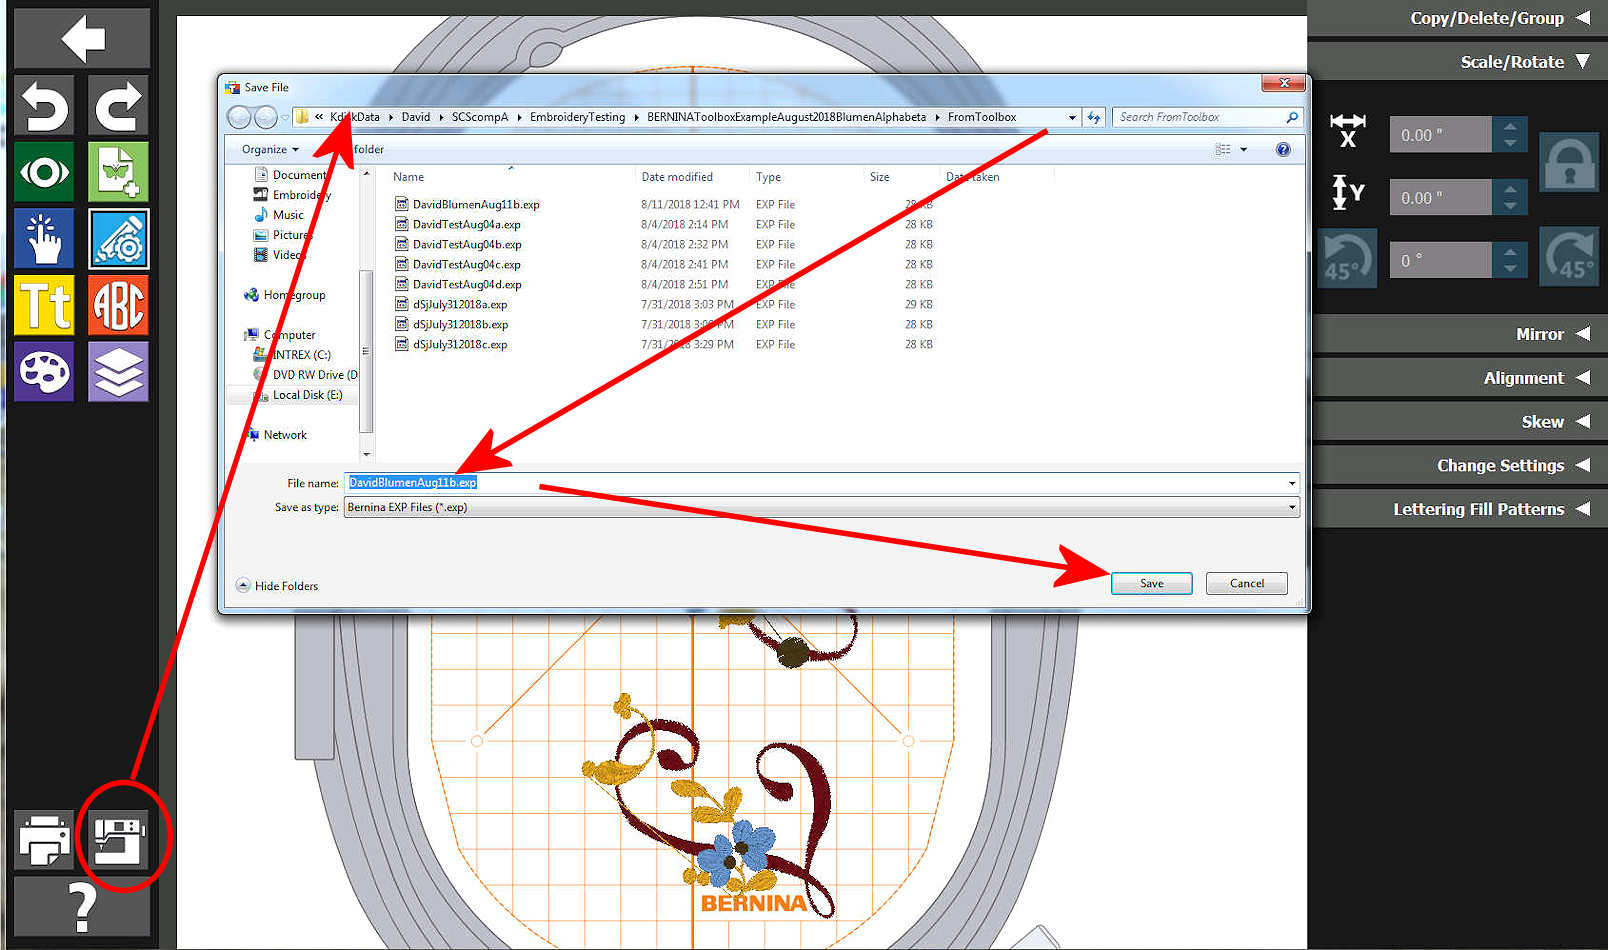
- Export the BERNINA Toolbox design to the Computer's folder for Saving / Use via USB, etc. on the embroidery machine later.
|
Hopefully, the following shows you the general idea/steps taken. If interested-in and have questions/comments, just contact the Webmaster as shown in the above eMail link.
(Click on any of the following to see in a larger-sized image)
|
|
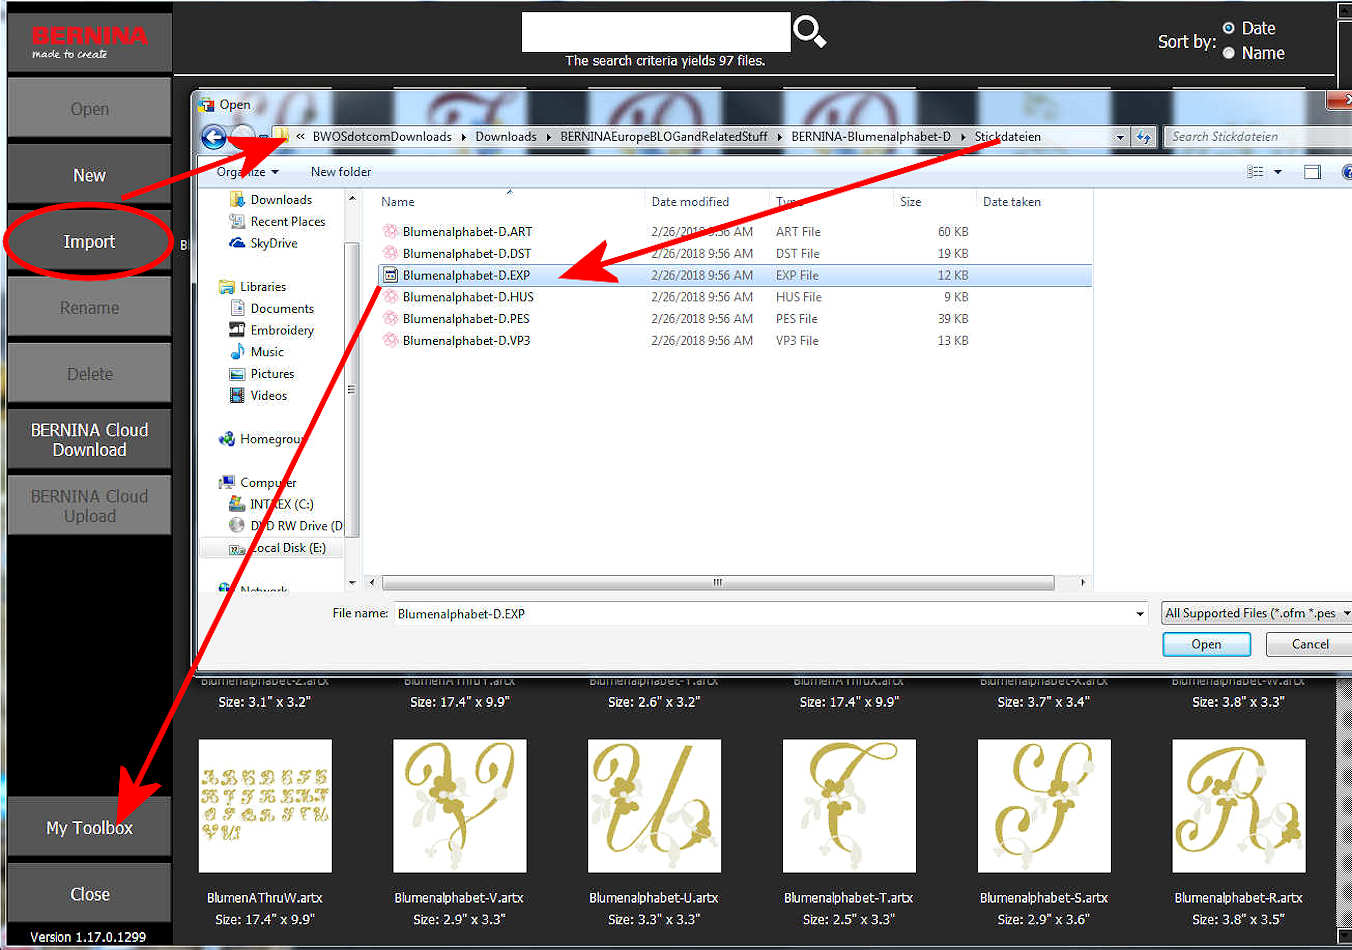
Import the EXP format of the letters
After starting BERNINA Toolbox,
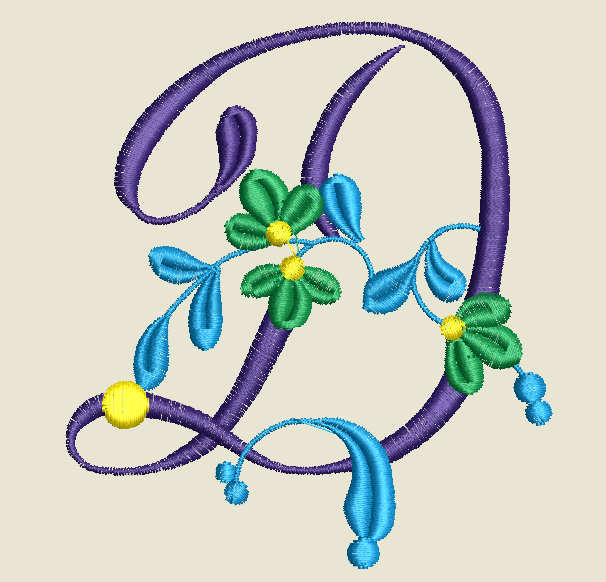
Import the EXP format of the letter (D). Then, repeat for the letter J and the letter S. We will work with the initials of my name... Why not?
|
Letters are Ready.

|
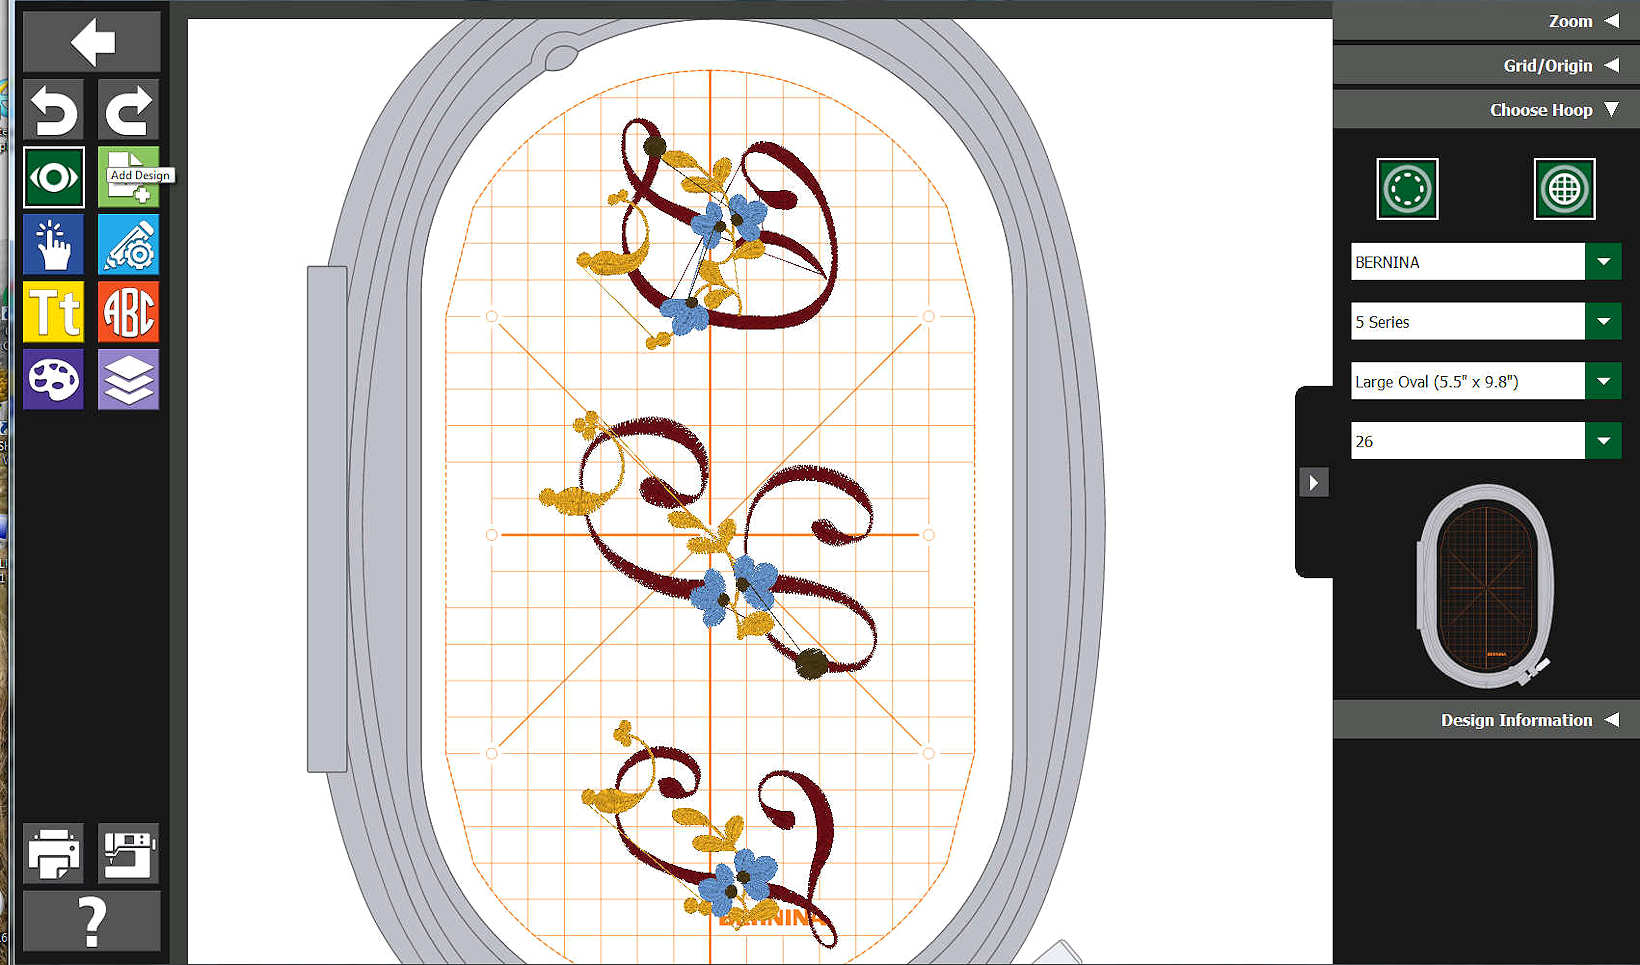
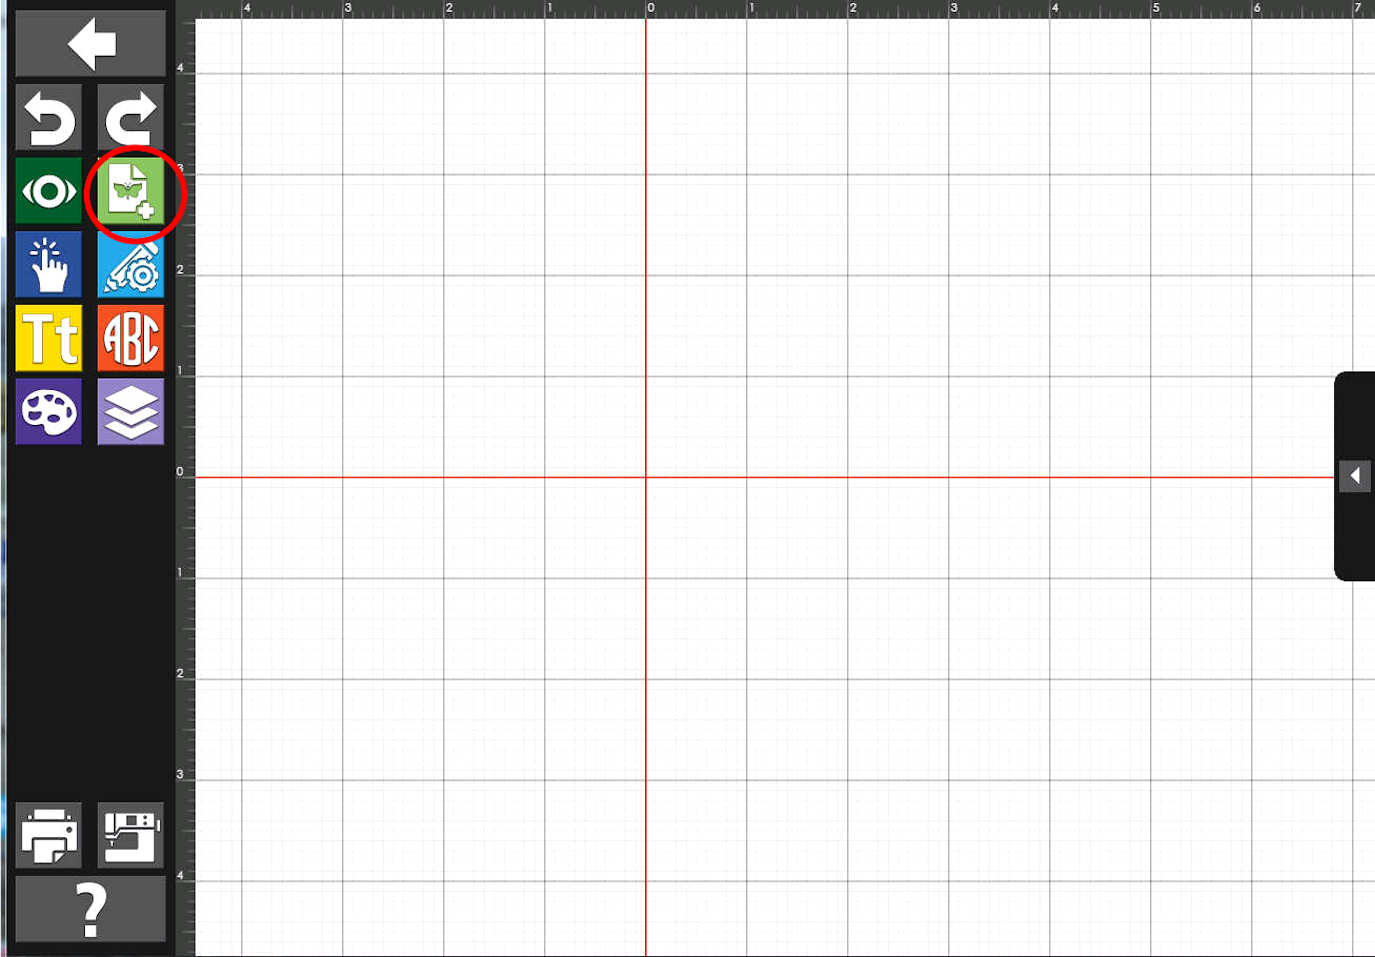
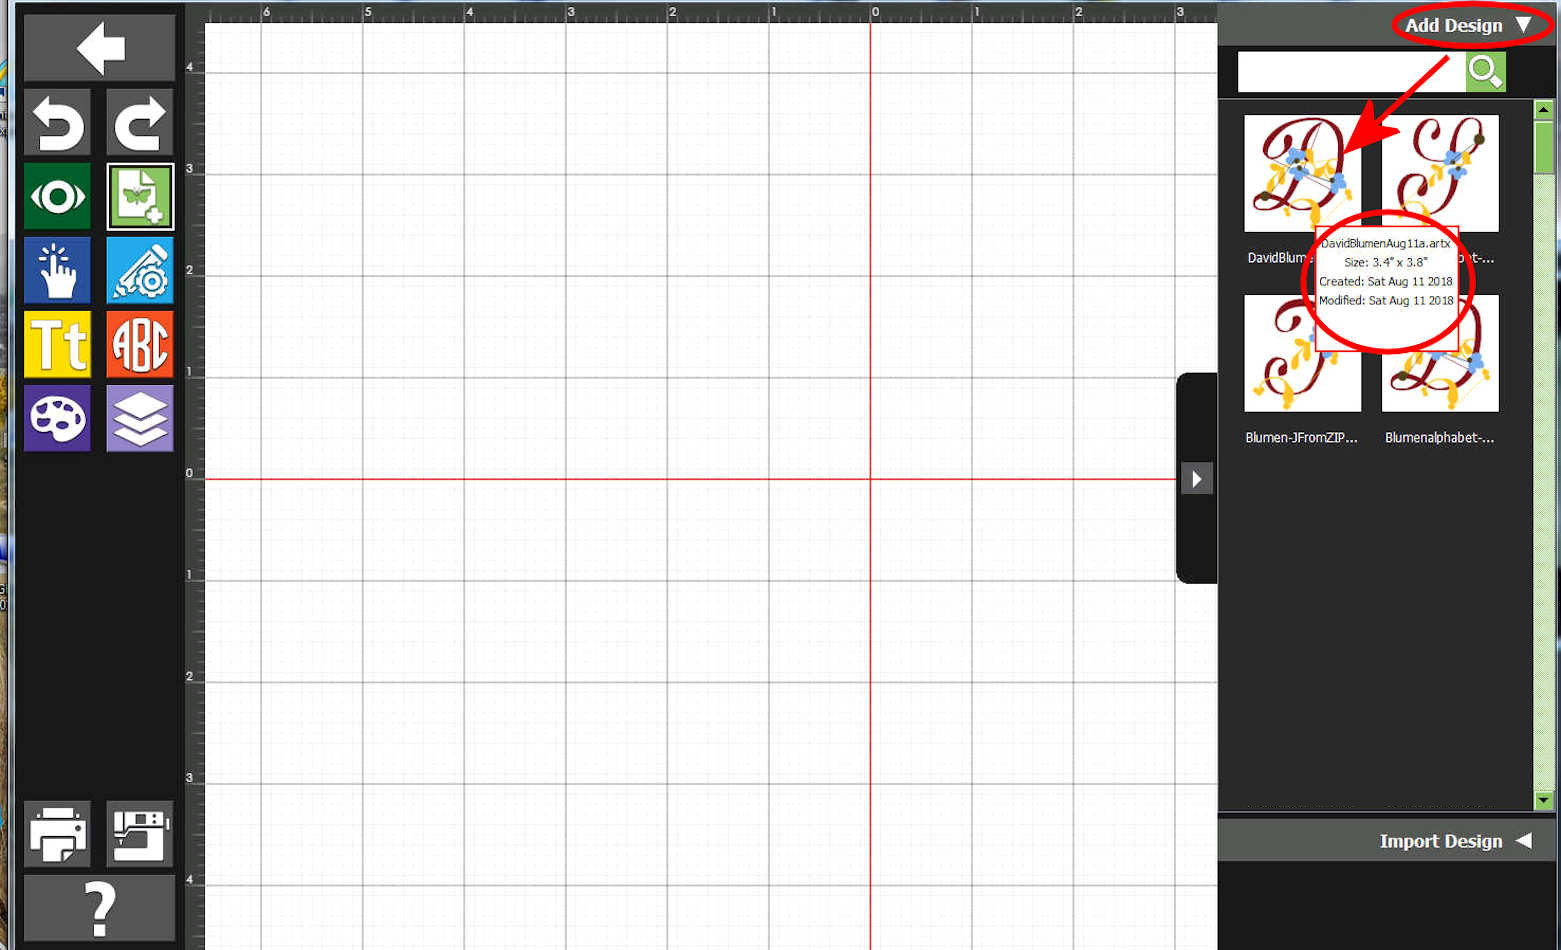
Start a New Design.
Begin by Adding a Design (we will add the letters that we previously Imported).
|
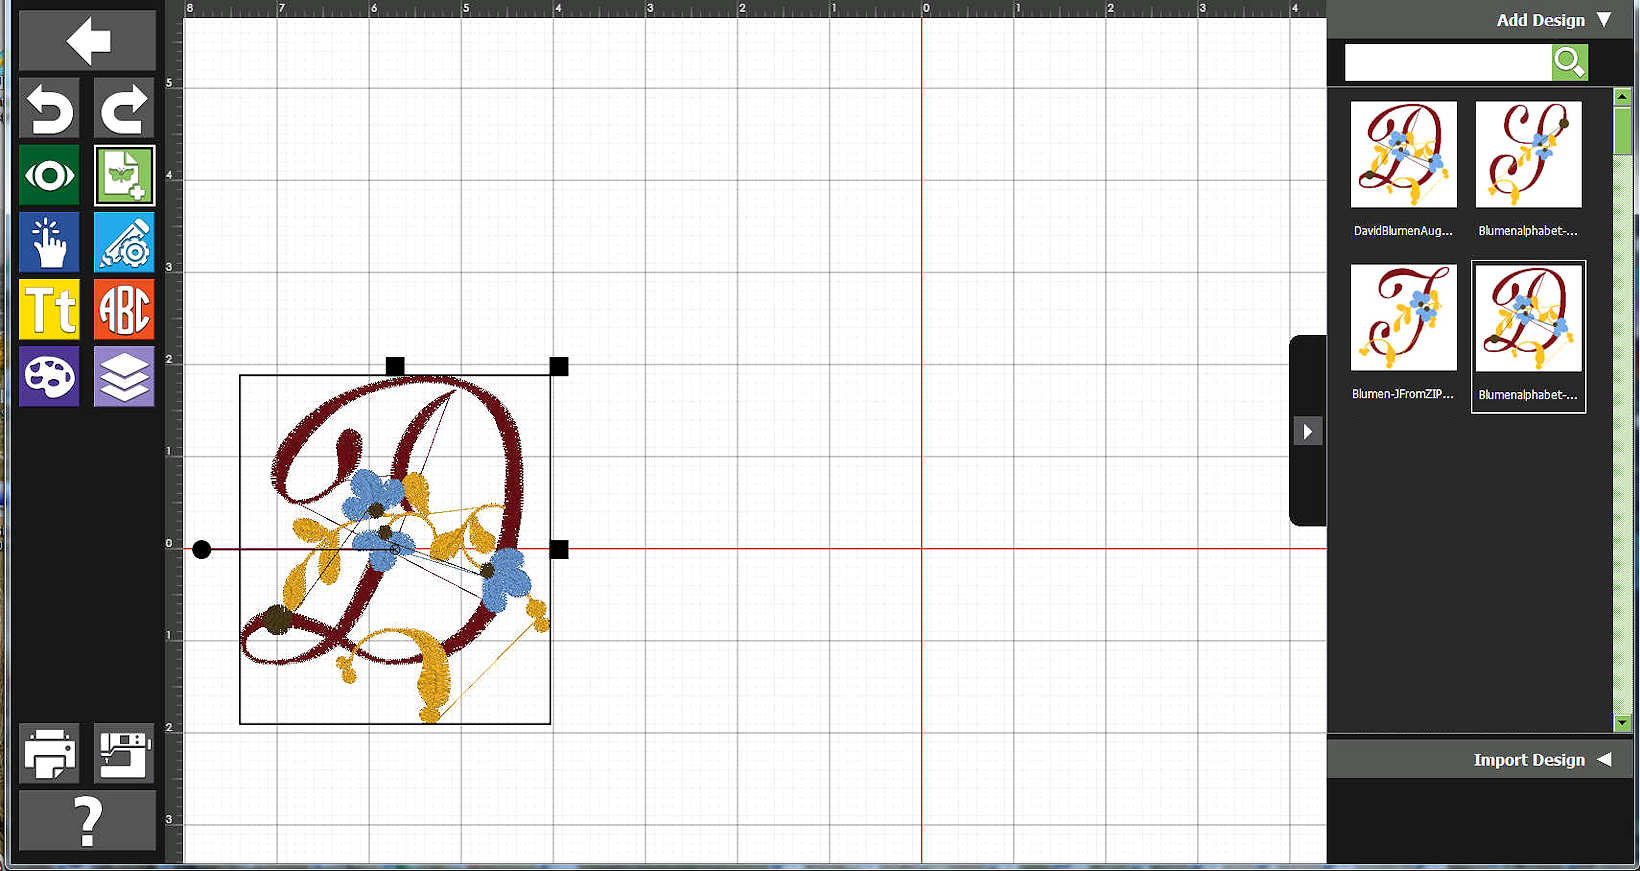
We start with the "D".
|
|
Position the "D".
Just a bit... for convenience in placing the other two letters as shown on our computer screen.
|
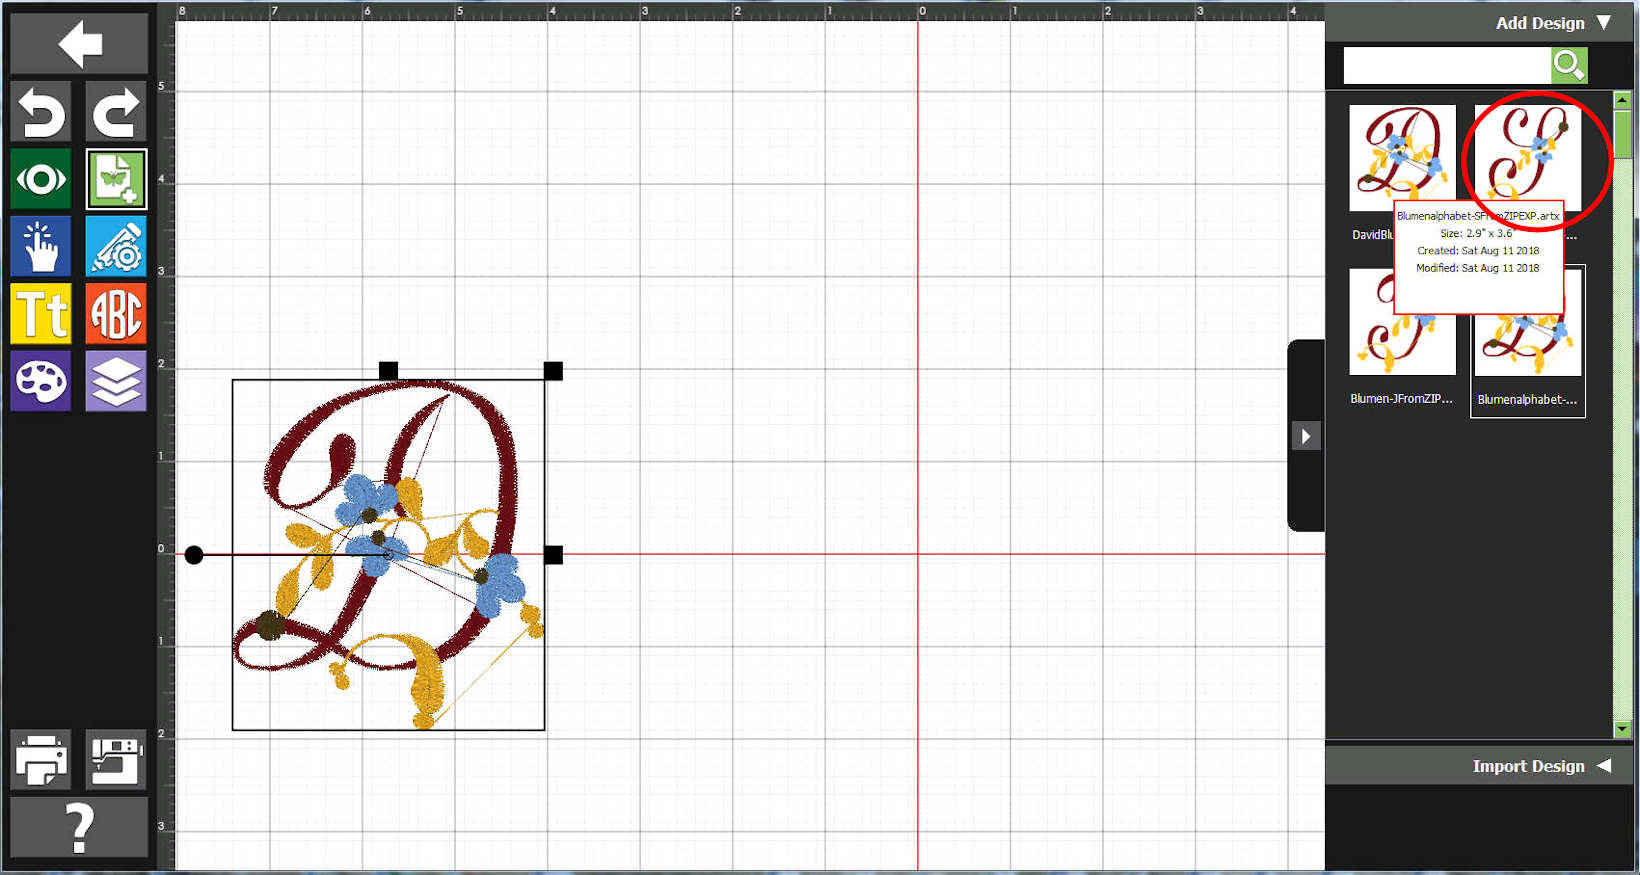
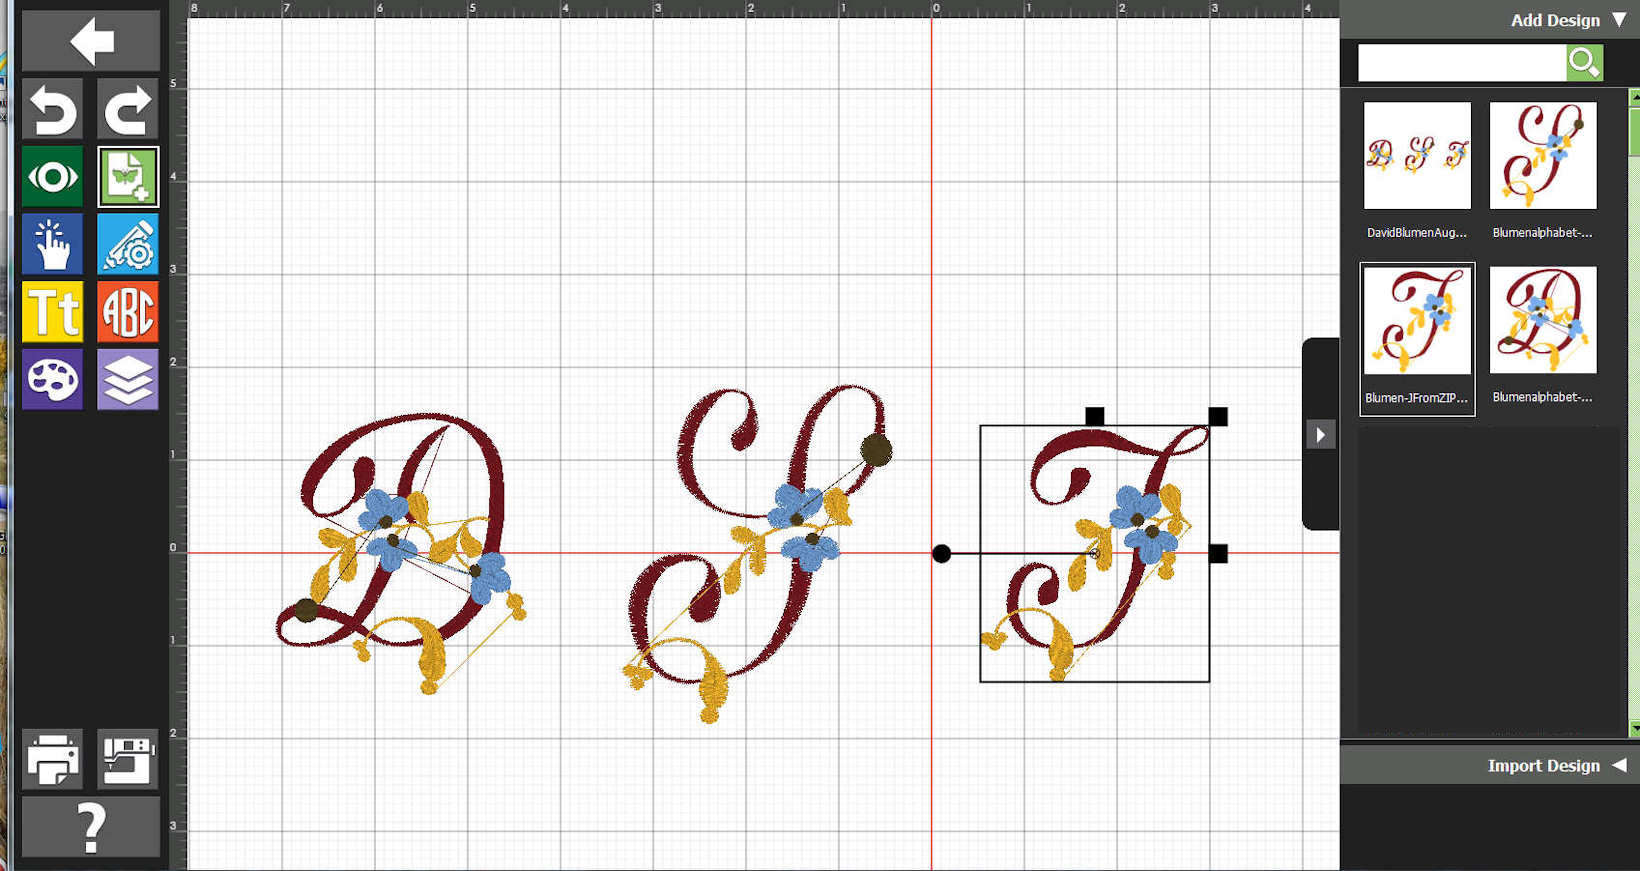
Look for and Add the "S".
|
Position the "S"
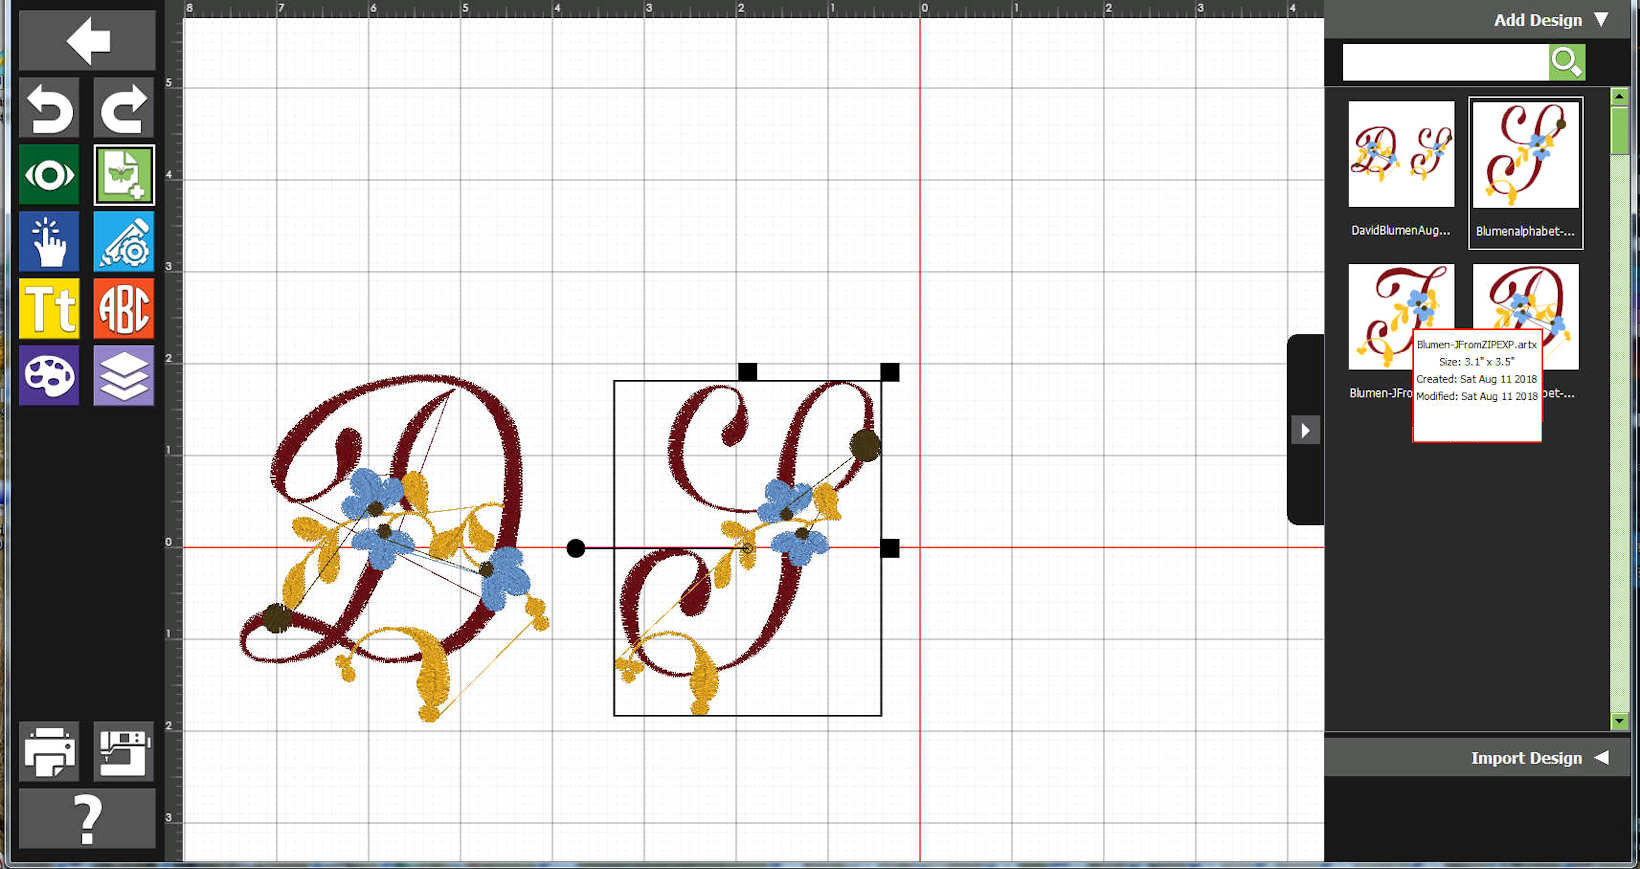
Then, get the "J"
|
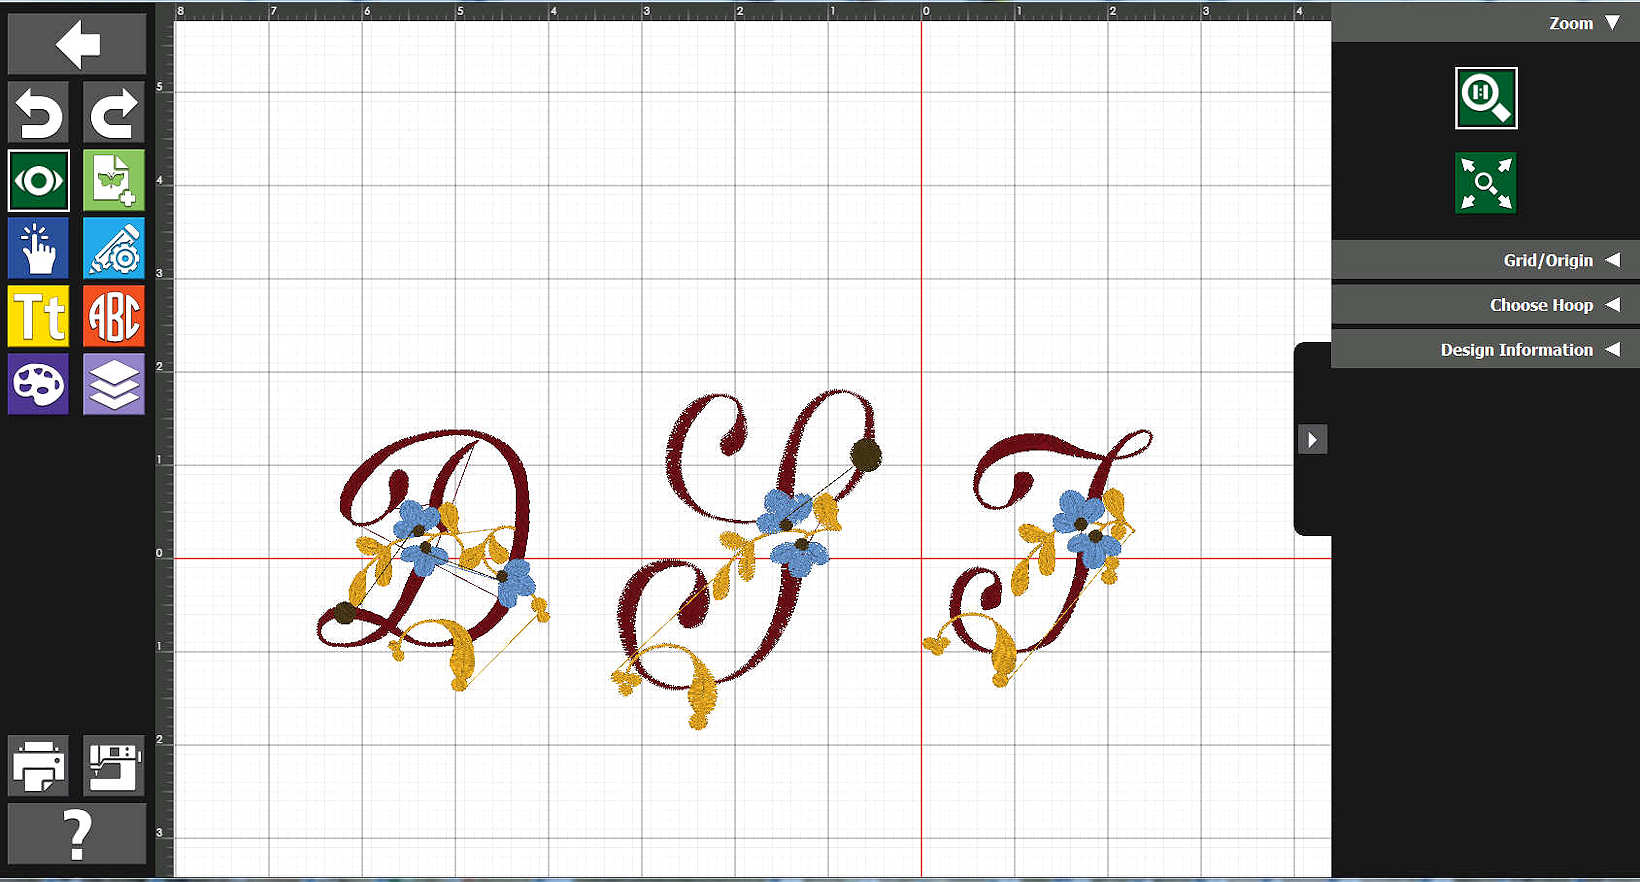
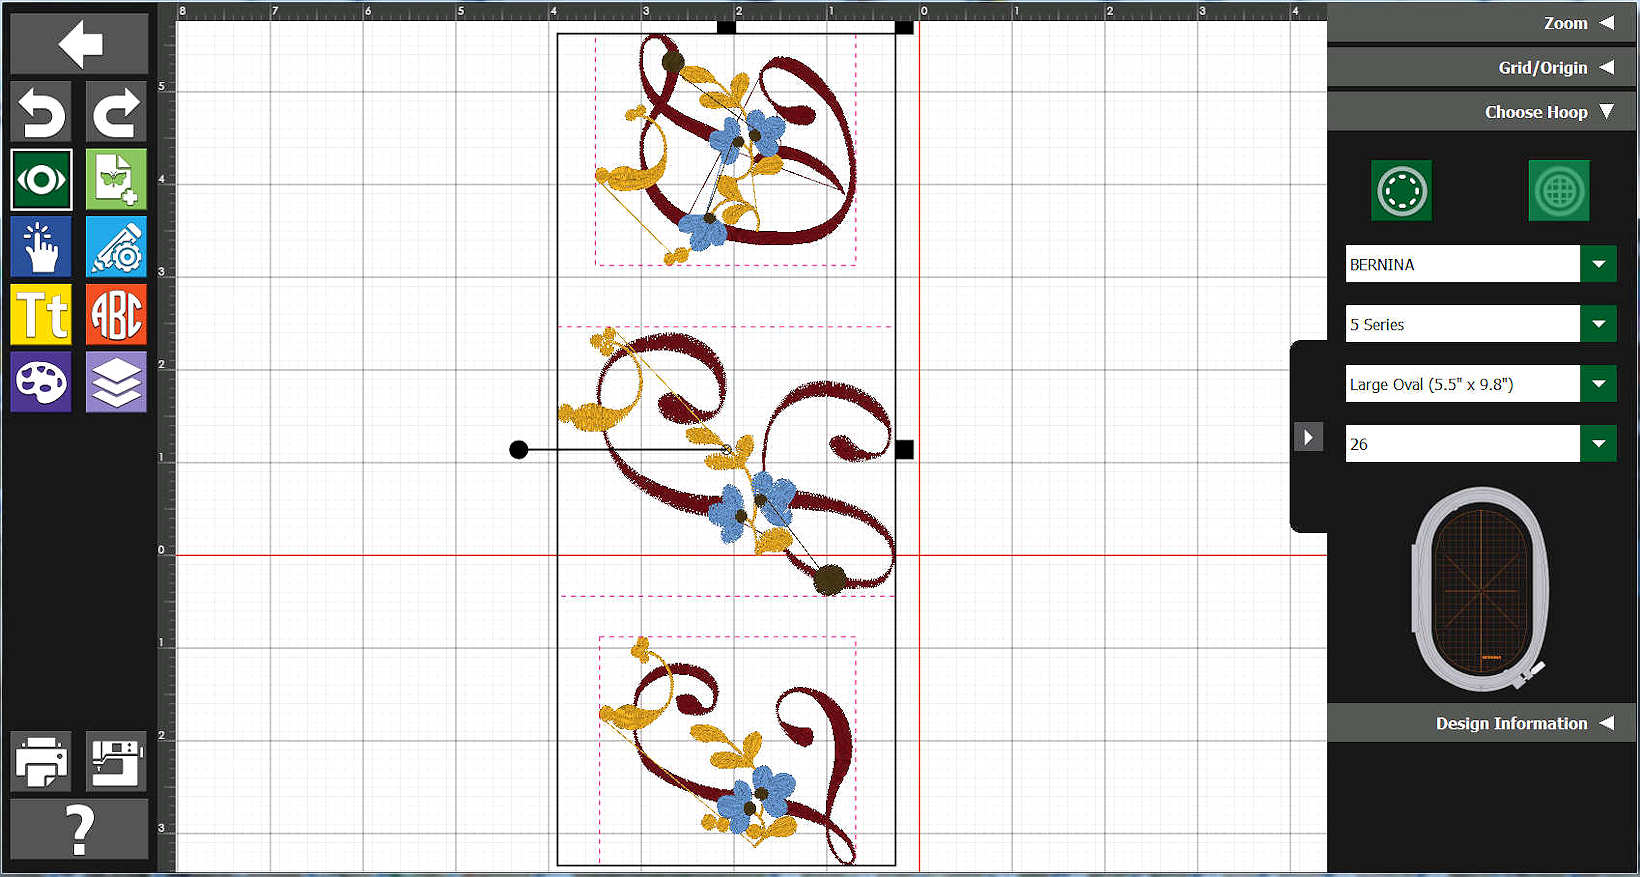
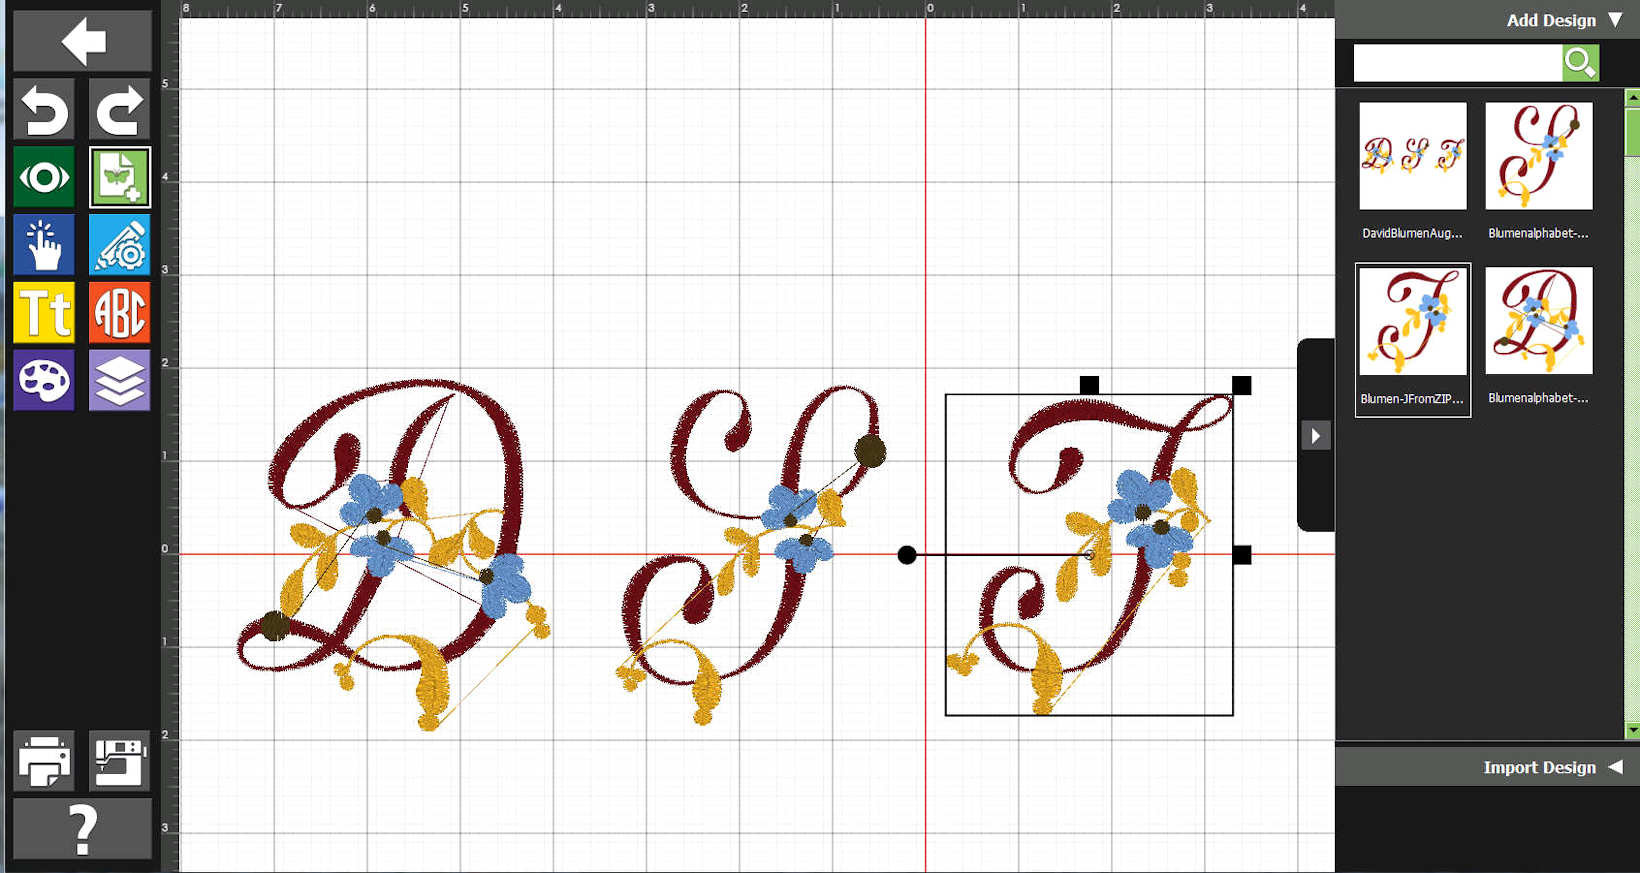
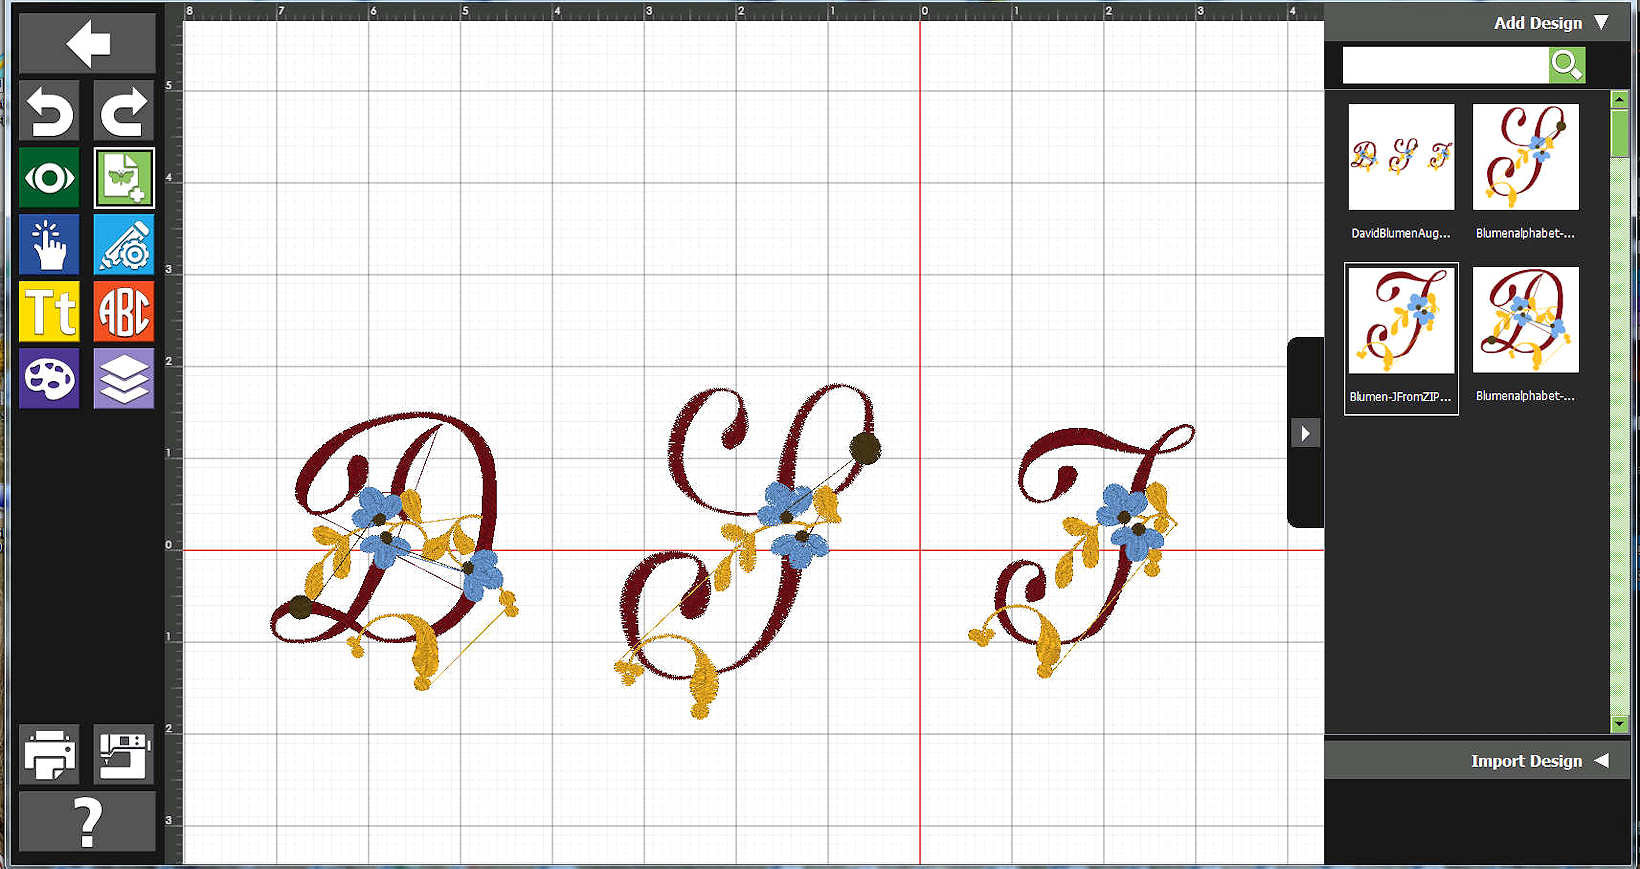
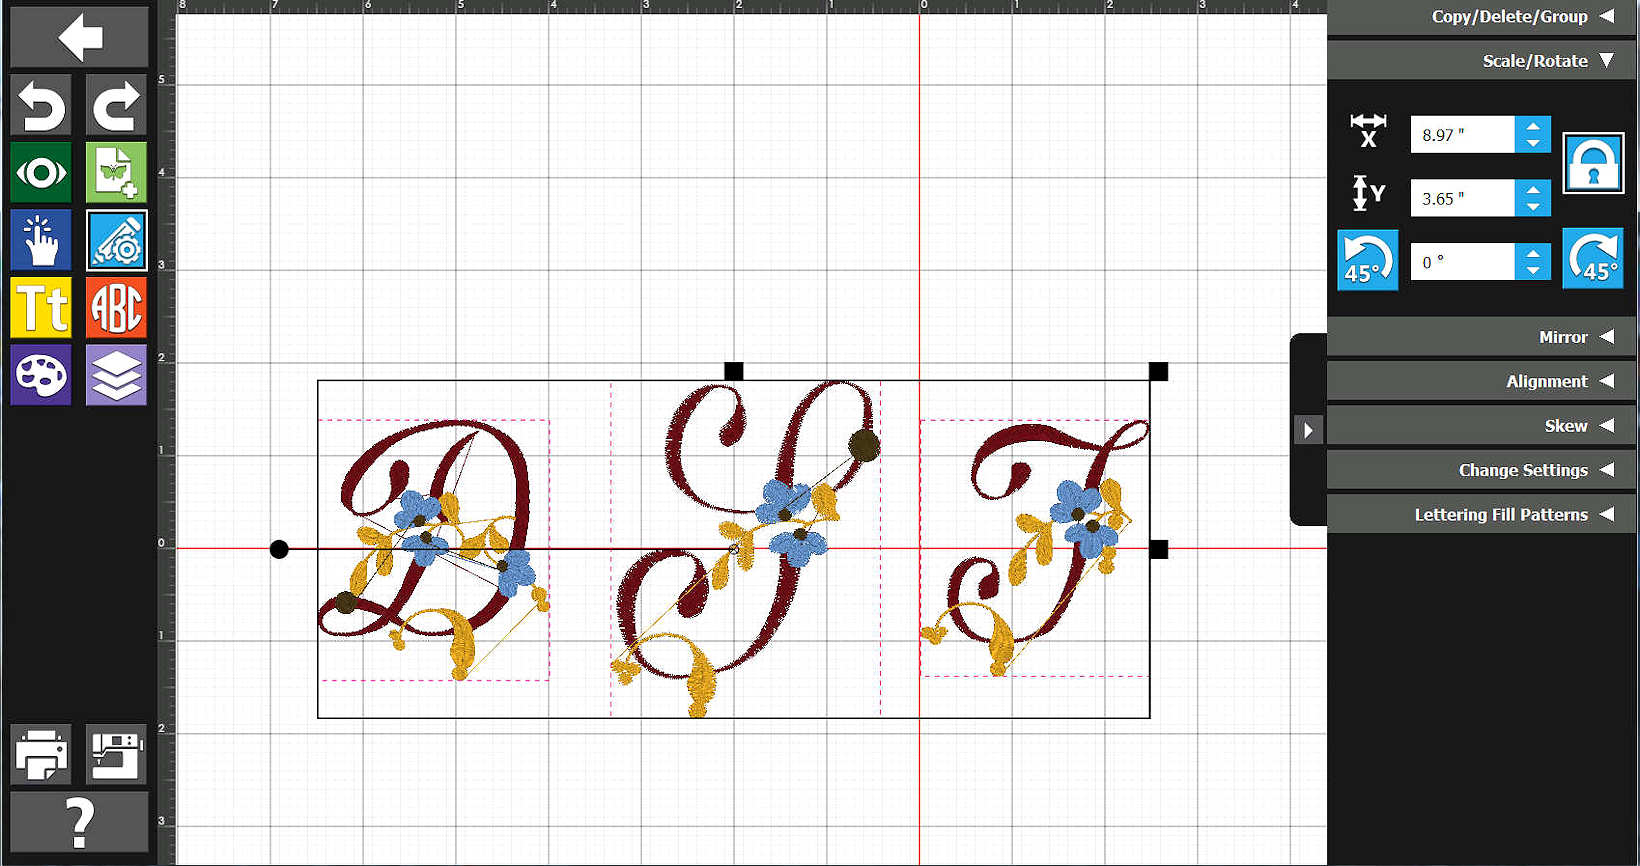
How does it Look So-far?.
|
|
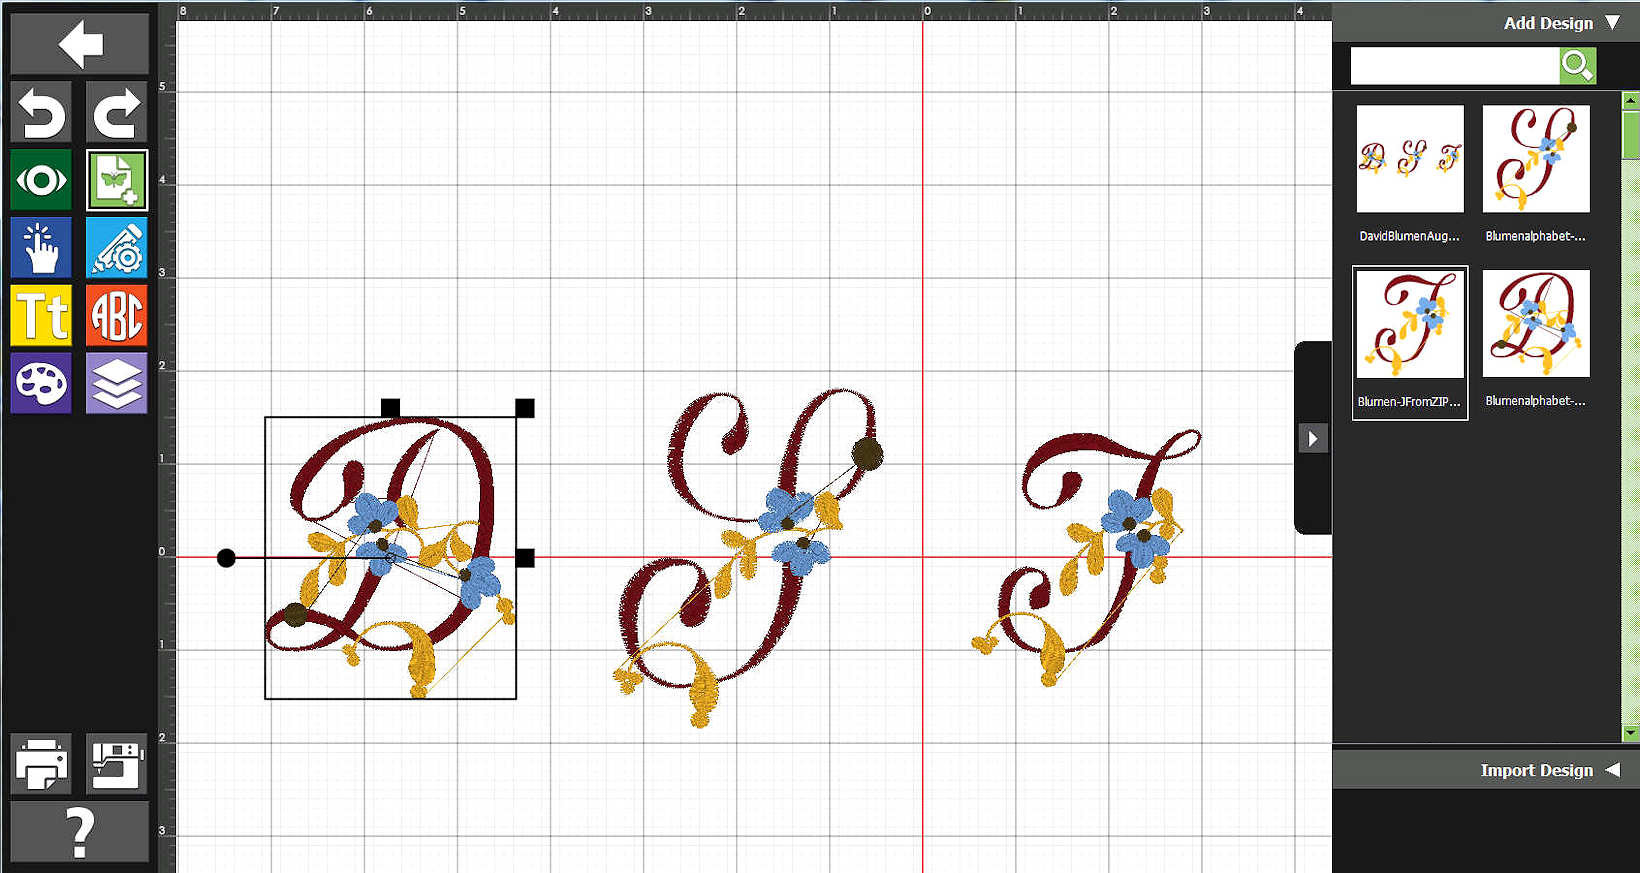
Let's Select the "D".
We want to make it a bit smaller than the middle-letter "S". We decide to do this by "grabbing" the letter's "select" handles. (Stay tuned for other examples which will discuss this topic).
|
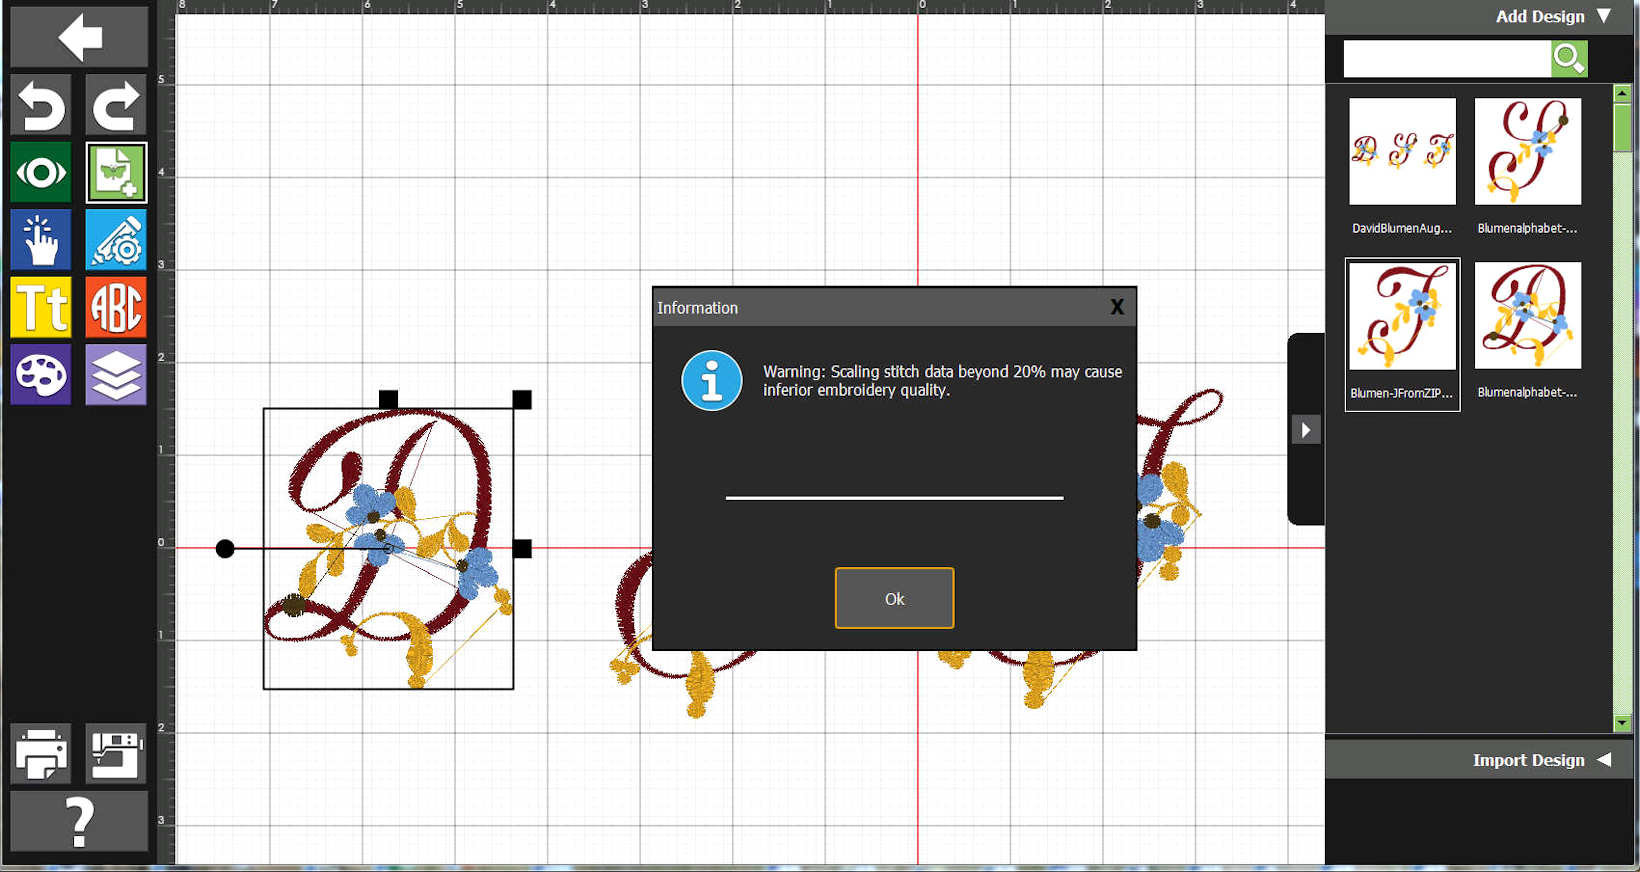
Alerted....
We pay attention to that... however, I am not an embroidery expert! We discuss this, perhaps, in a future example.
|
"D" is Smaller - Next" The "J".
|
"J" is Smaller.
Yes, we were, once again, Alerted (not shown, here).
|
|
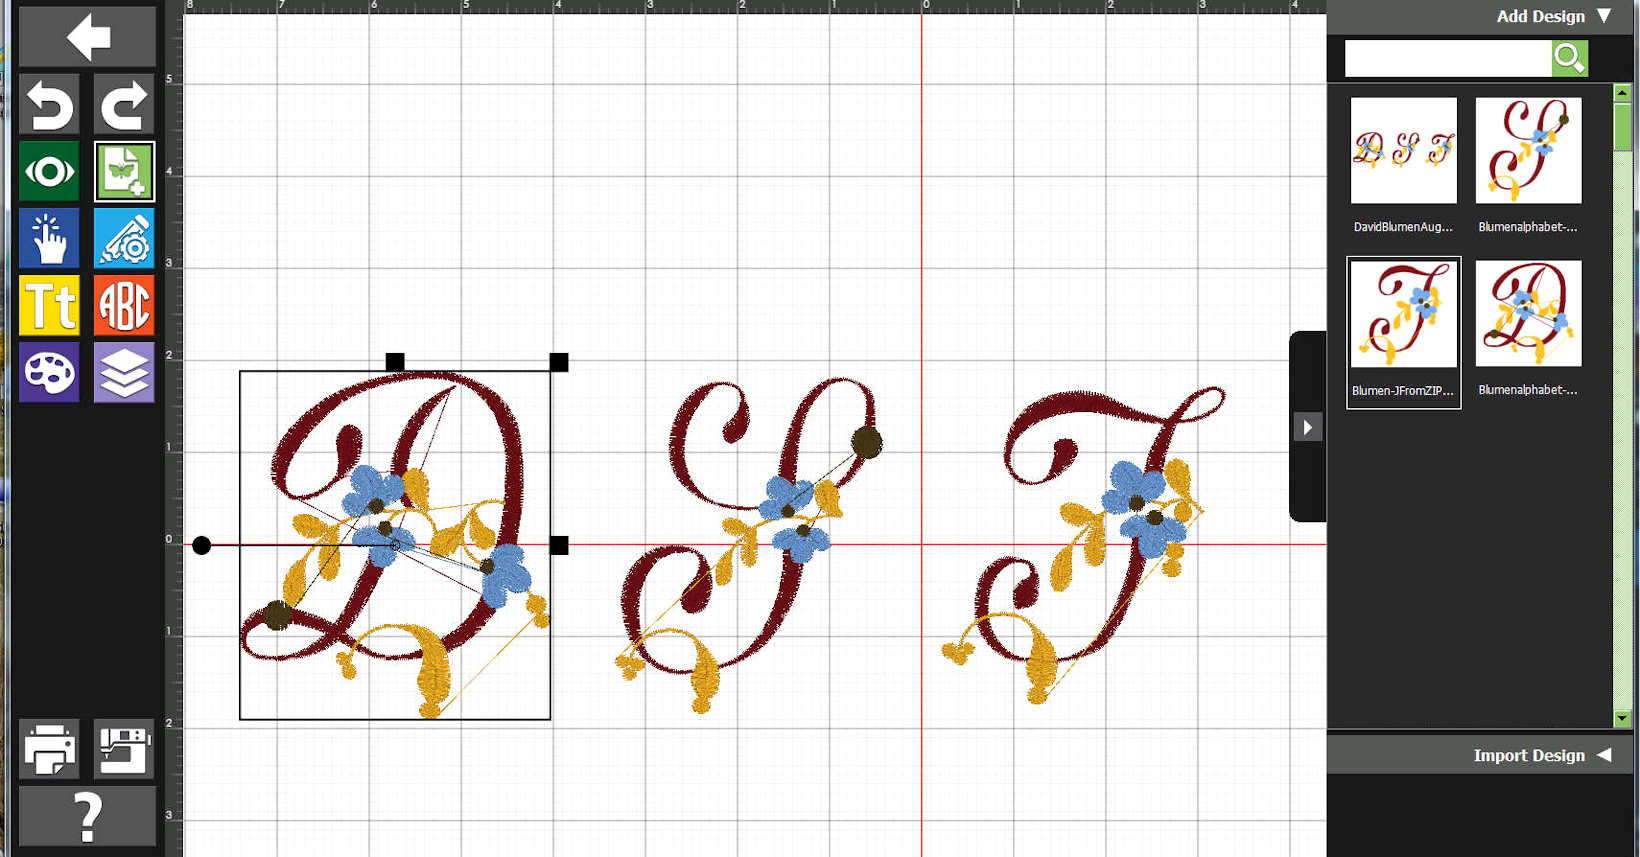
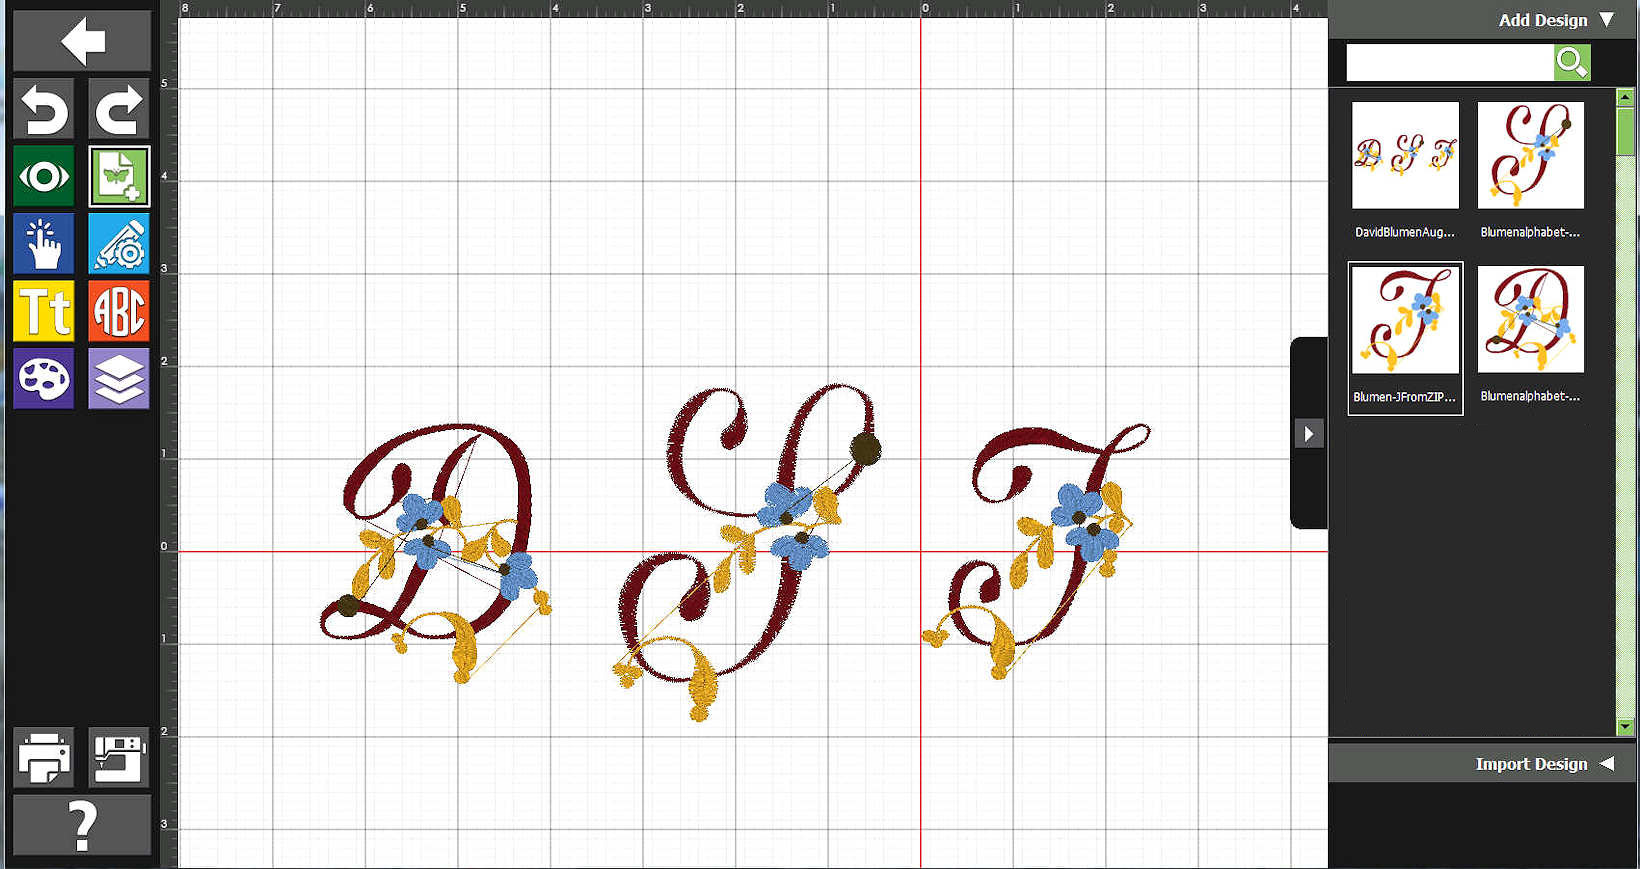
How are We Doing?.
Well... the "D" looks a bit too large as compared to the "S".
|
Select the "D" and Reduce its Size.
Yes, we were, once again, Alerted (not shown, here).
|
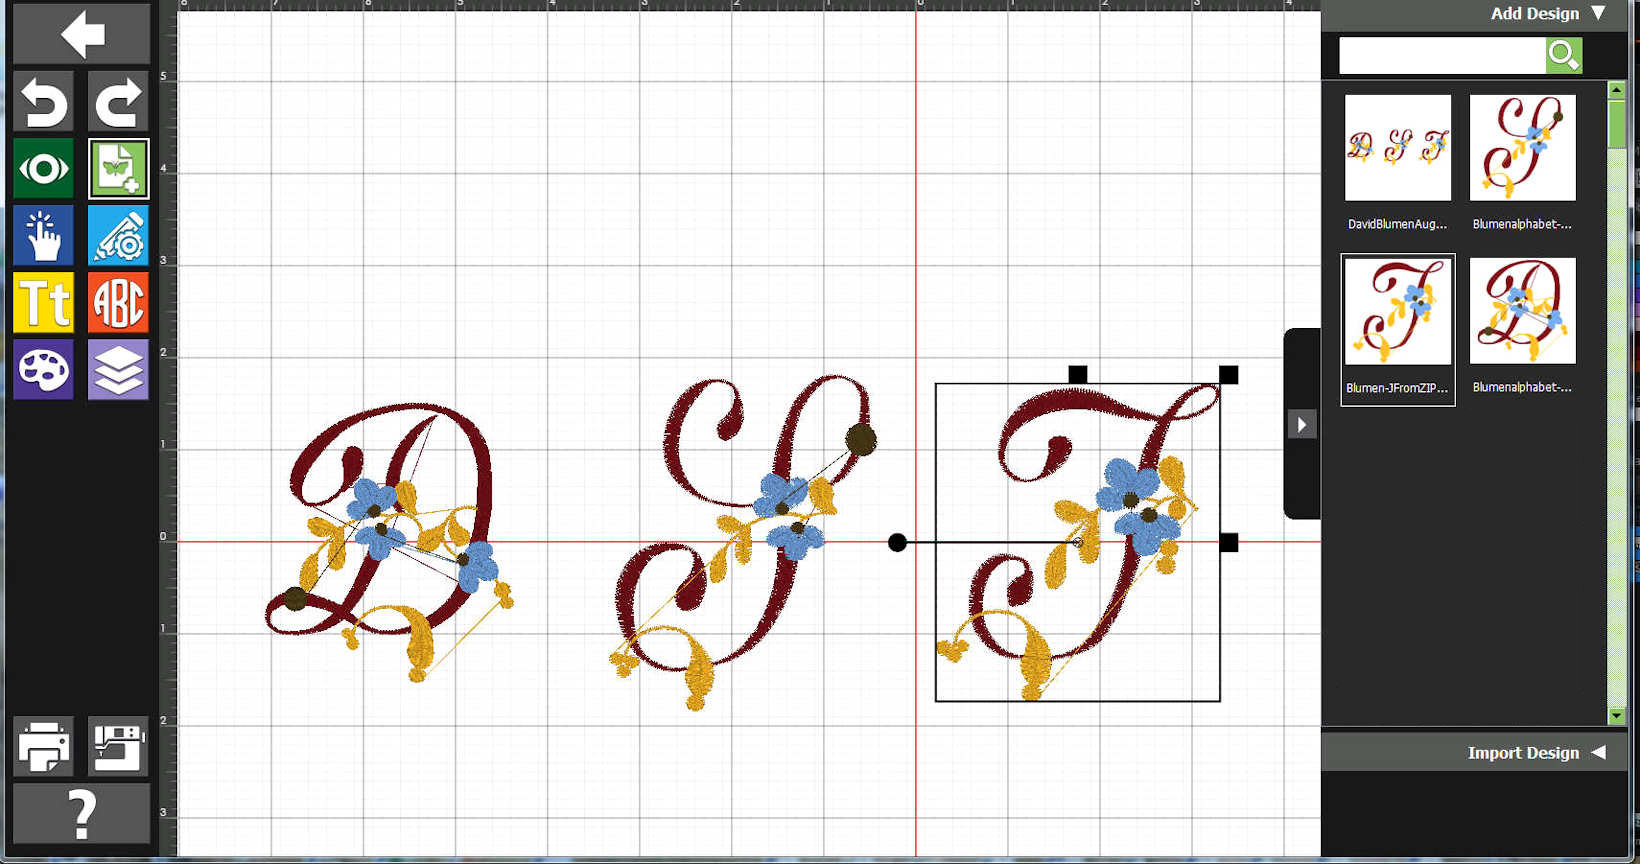
How are We Doing, Now?.
I can live with it... Later, when I pass it onto the machine-sewer, he/she may decide to further adjust the design when on the actual embroidery machine.
|
|
|
|
We will "Edit" the "Grouped" Design.
Just for convenience, for awhile, we want to move all the letters at the same time. We could have - and, still can, if we wish to - work with the individual letters. For this example, the "group" works fine.

|
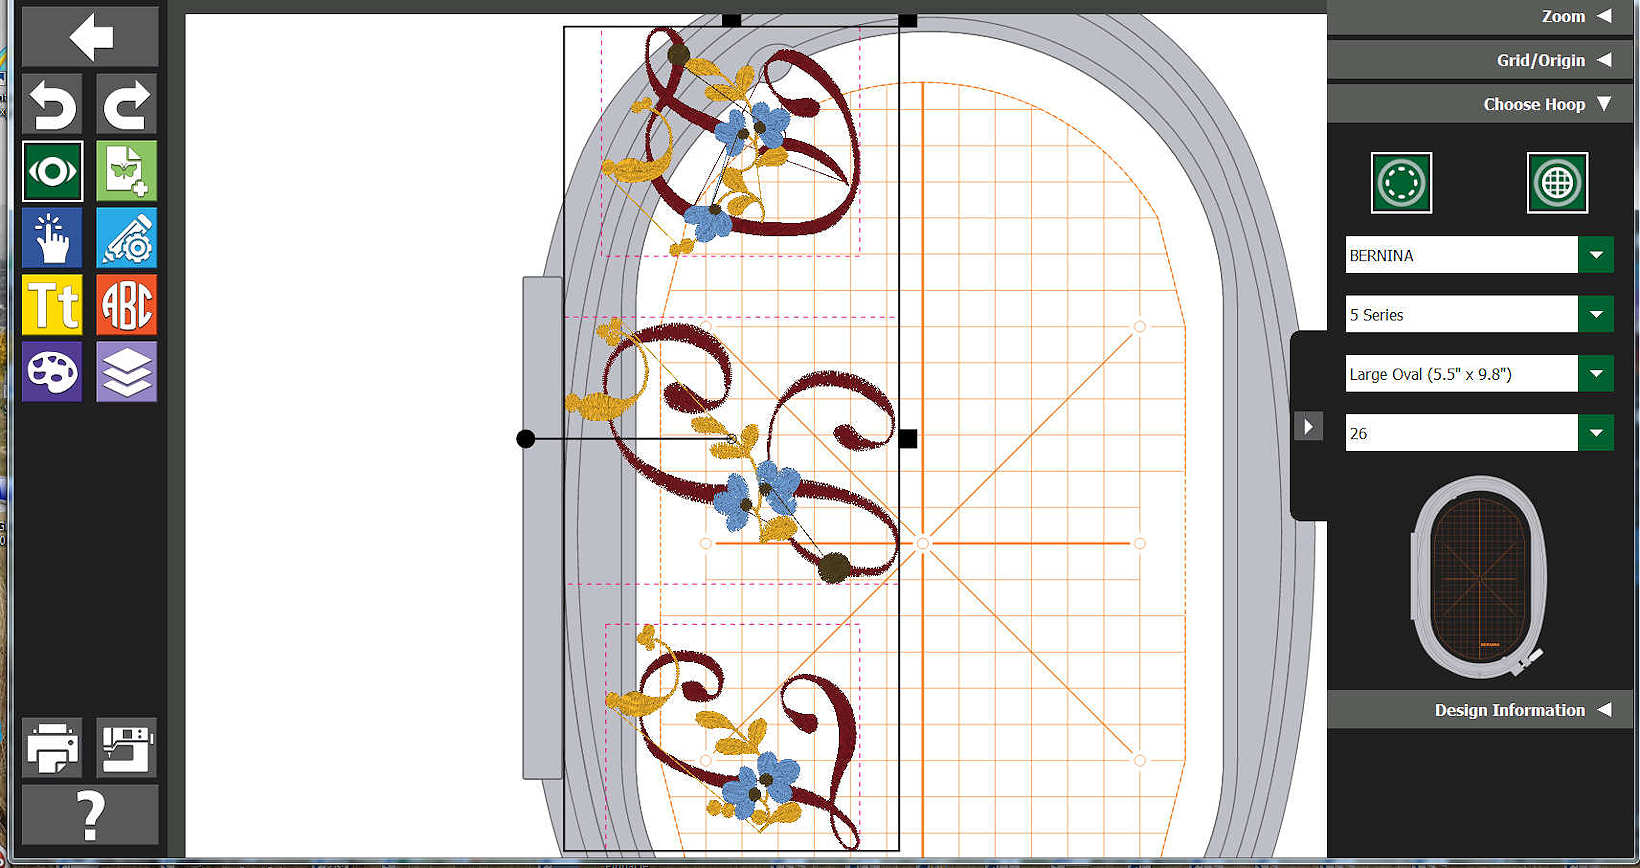
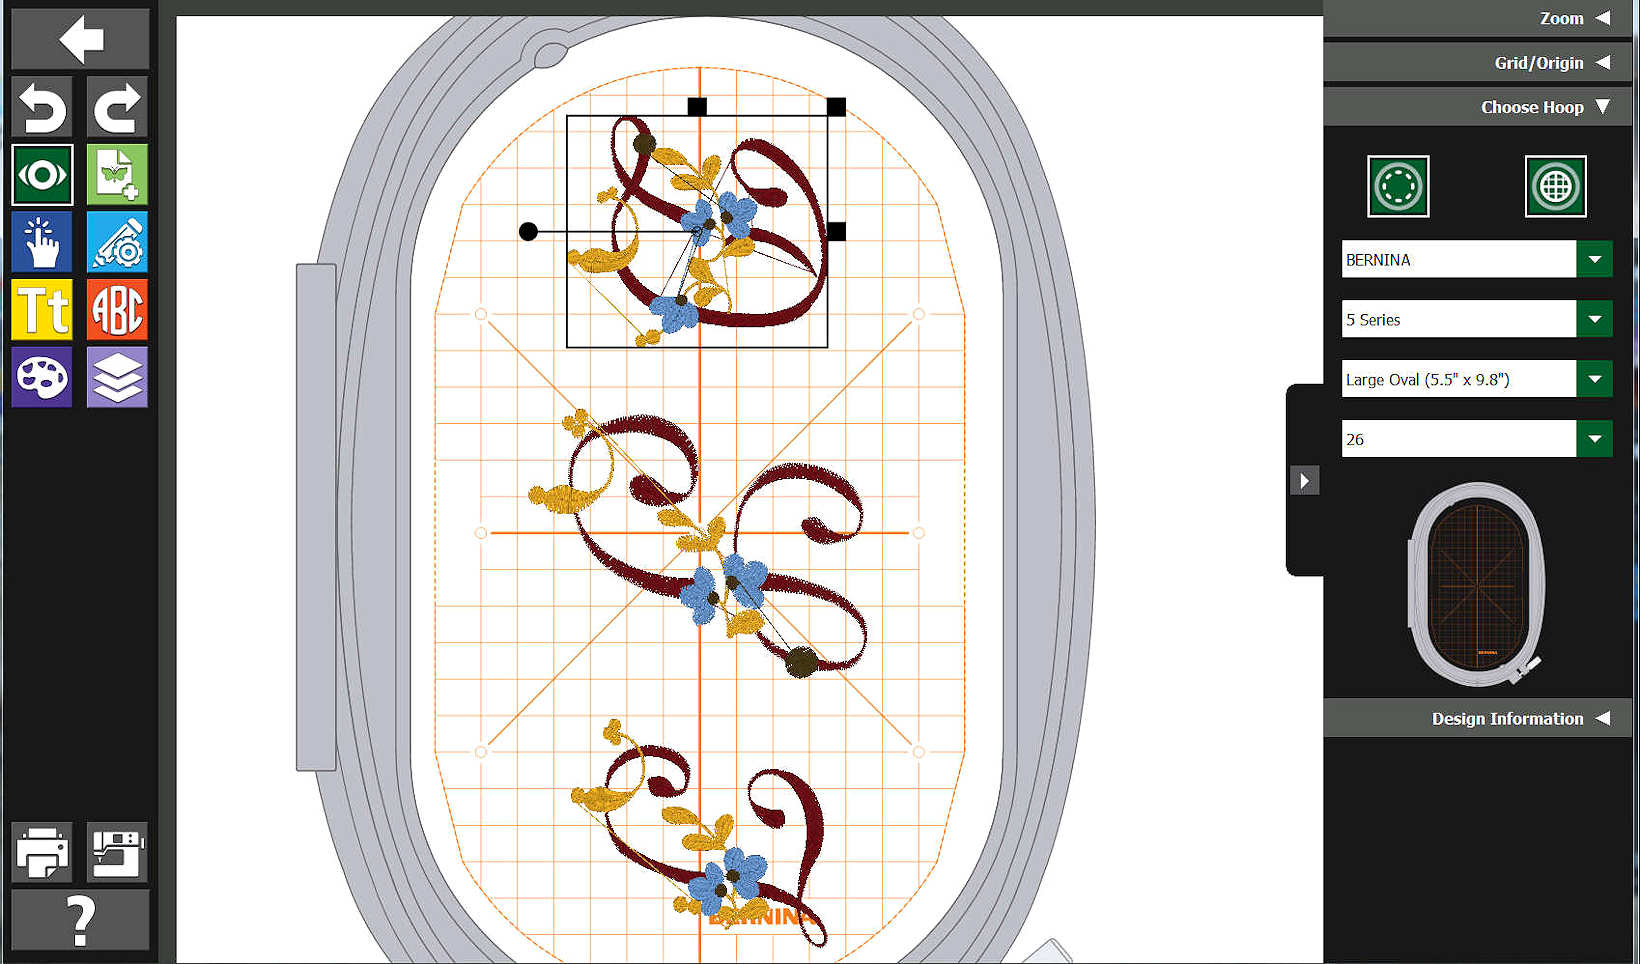
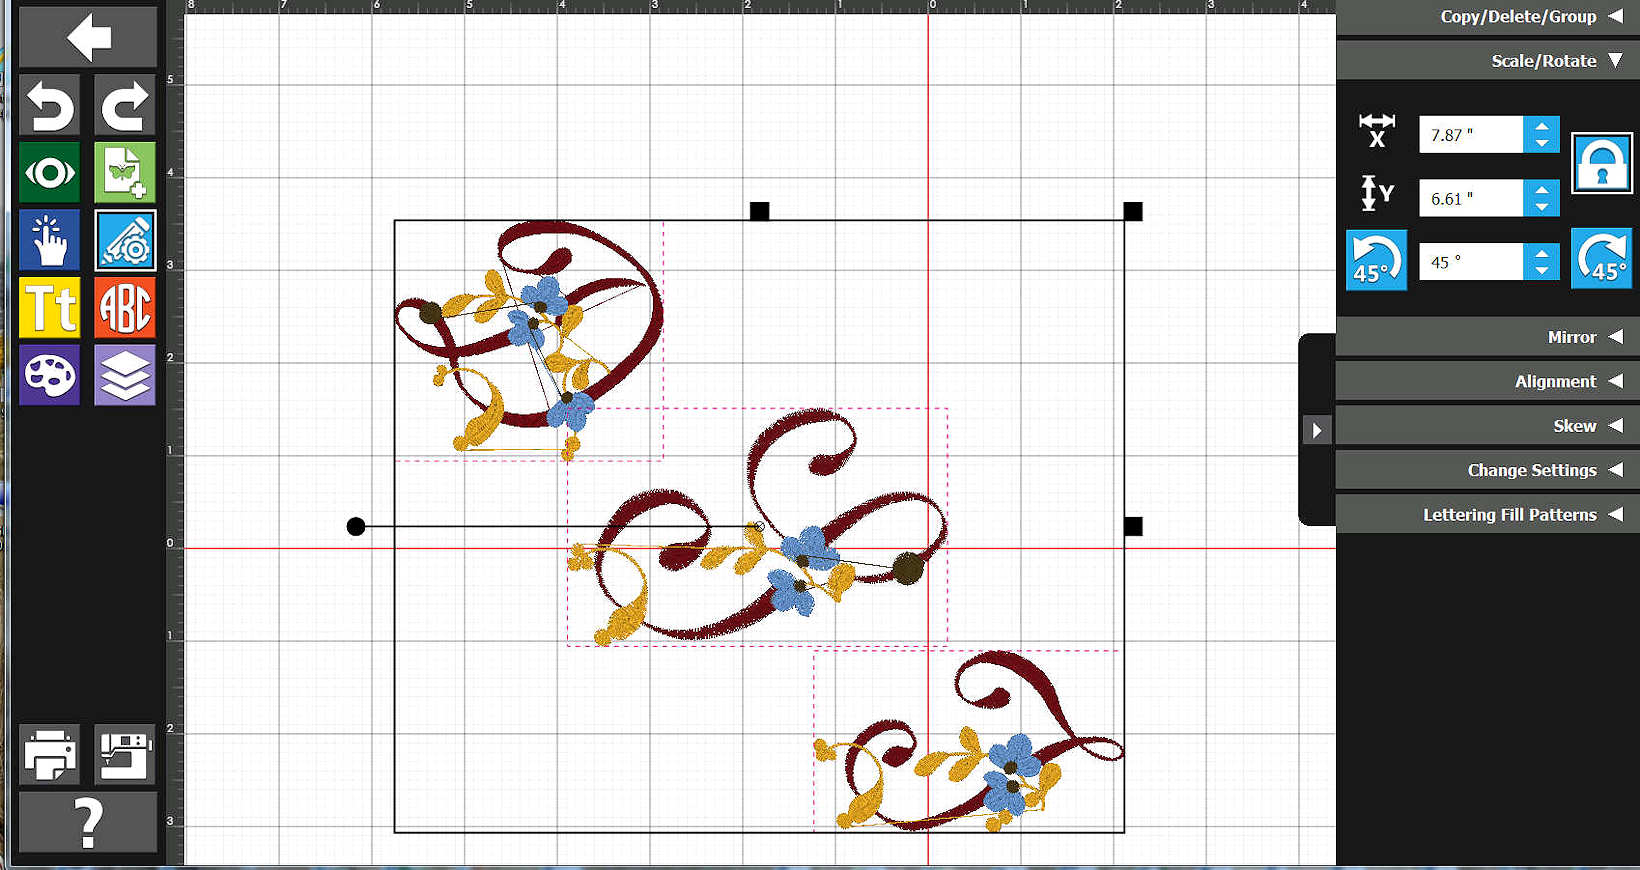
Using BERNINA Toolbox Edit to Rotate.
We will rotate the Group.
|
Firstly, 45-degrees..
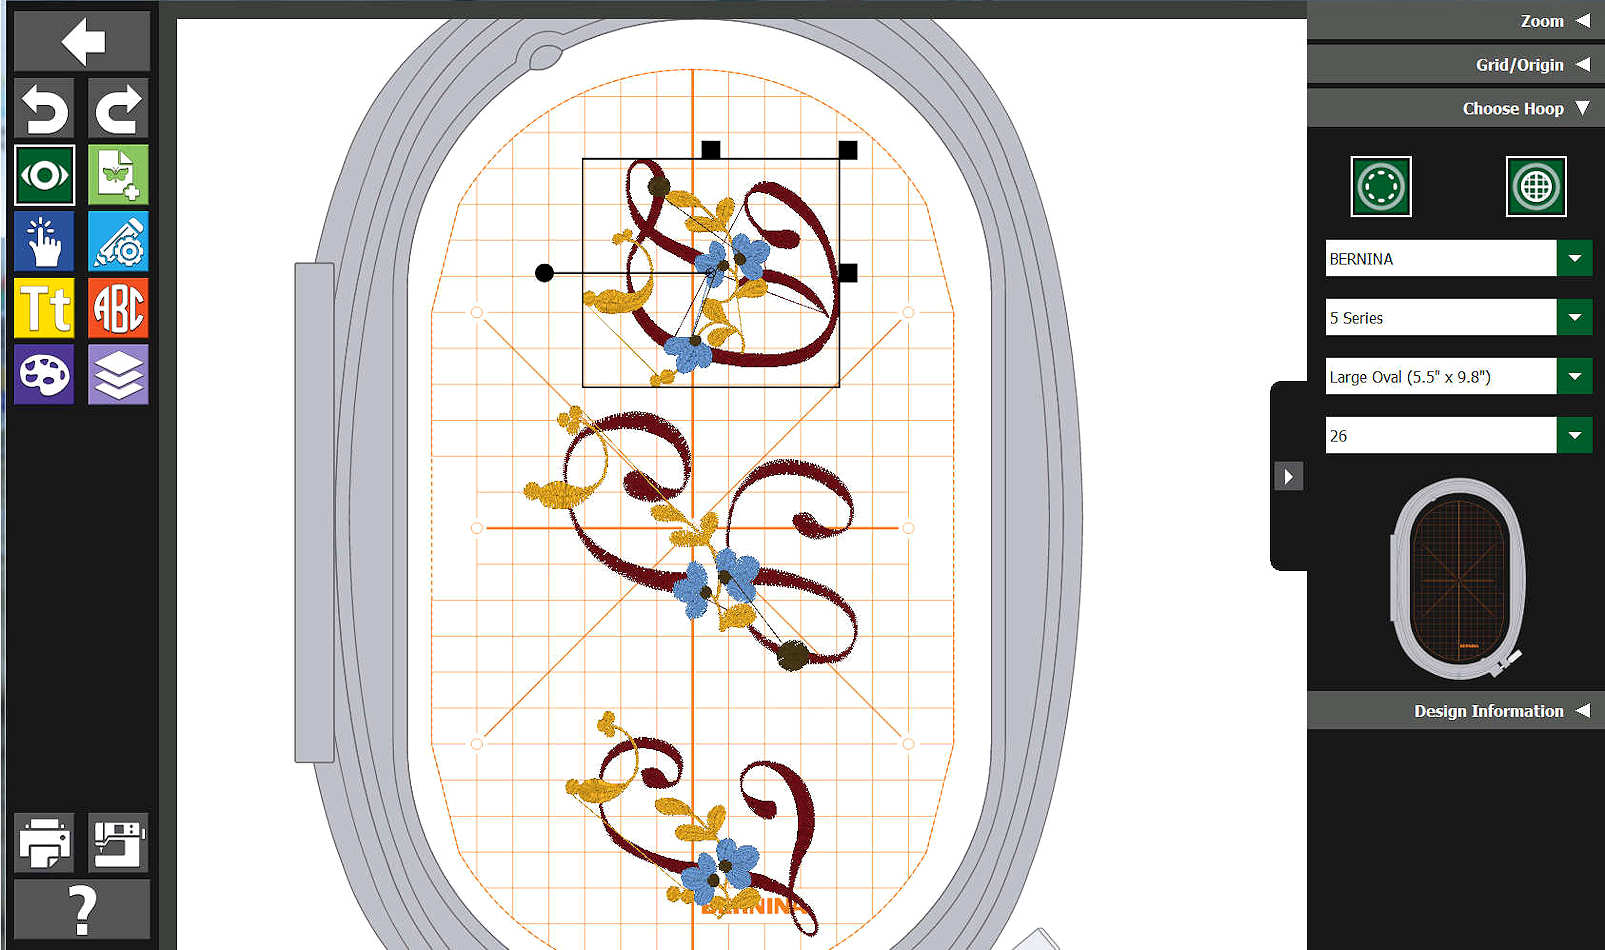
|
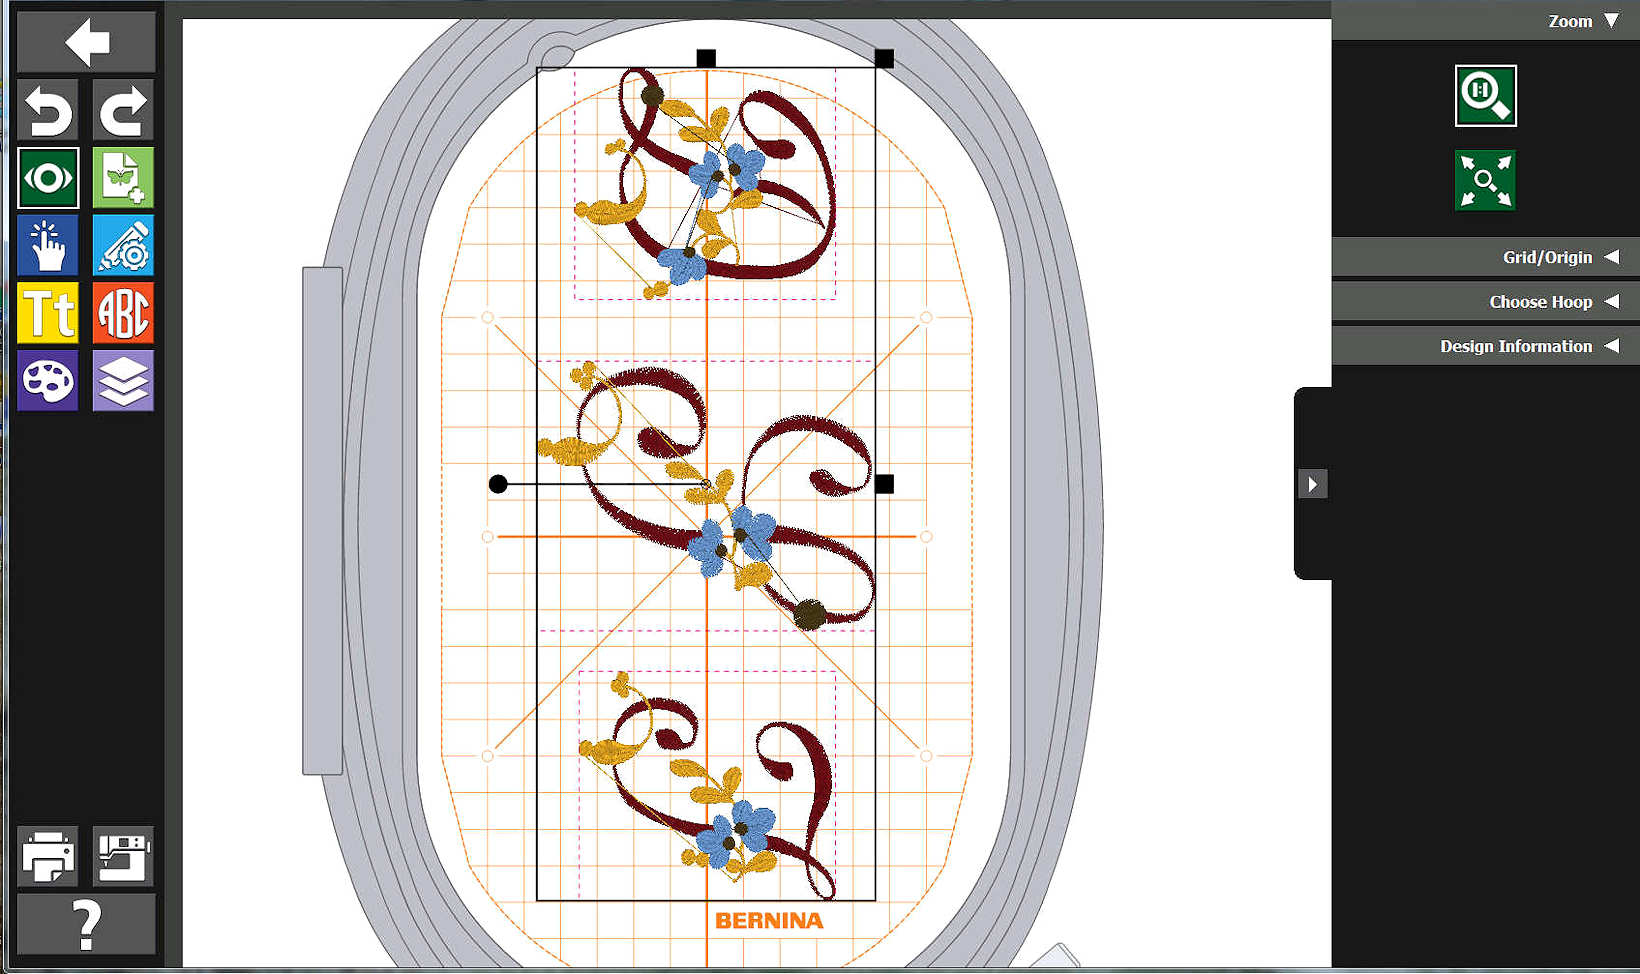
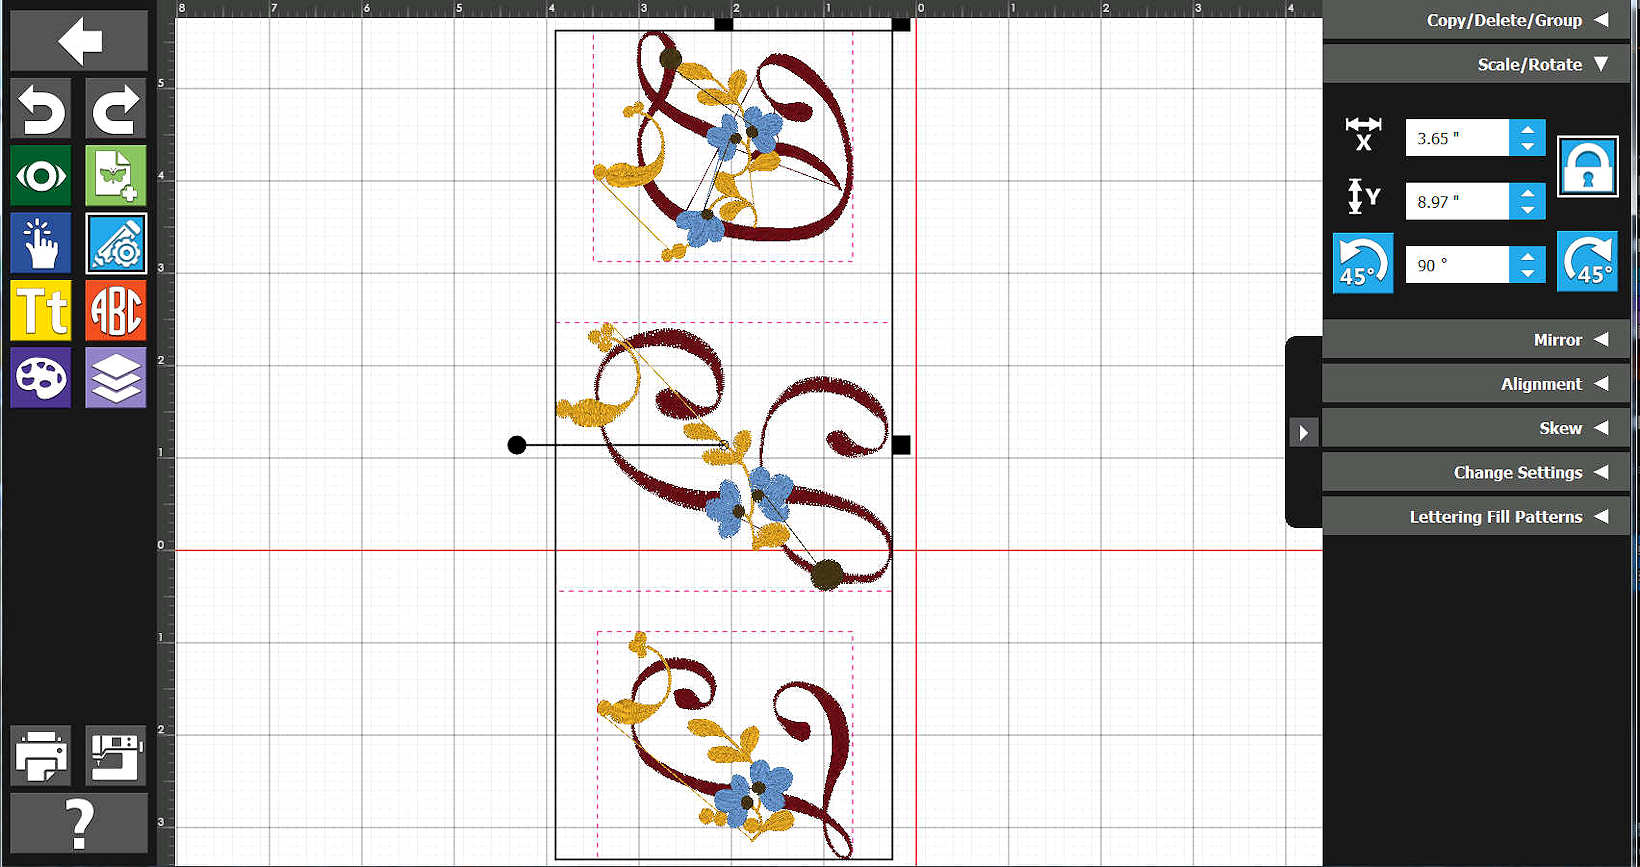
Another 45-degrees..
Looks, now, more like the hoop that we looked at earlier.
|
|
|
|
|
|
|
|
|
|
.
|
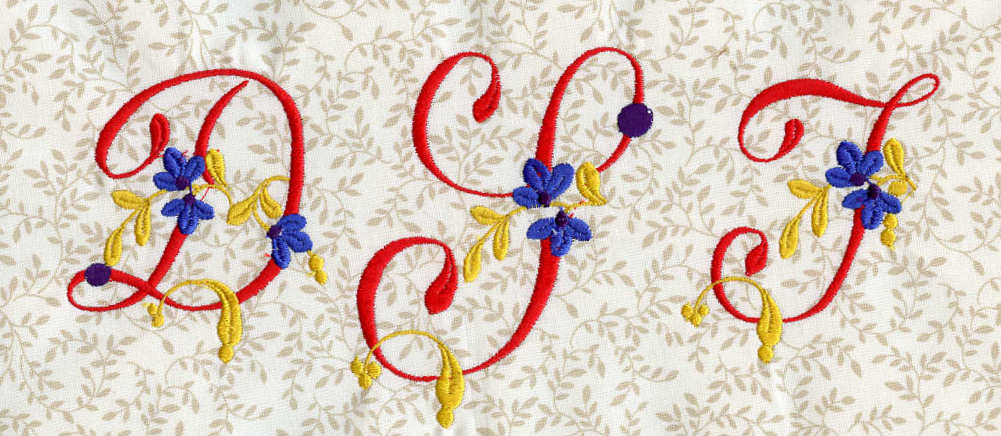
A Later Test - Enlarged the Original-Sized "D" 144%.
(Click on the following to see actual size of what was stitched)
|
|
If you have any comments or otherwise, please:
send mail to: BWOSToolbox at Bernina World of Sewing
If you wish to see other examples "published" as part of this topic:
|
|
|
© Bernina World of Sewing
6013 Glenwood Ave.
Raleigh, NC 27612
USA
Phone: (919) 782-2945
|
To contact us about anything on this page or any of our site's Web pages, please:
send mail to: Webmaster for Bernina World of Sewing
|
|
This website offers links to other sites outside the purview of Bernina World of Sewing. Bernina World of Sewing claims no responsibility for the content of any linked site and does not necessarily endorse the content of these links. These links are in place for your convenience only.
|
| | | | |
 Bernina World of Sewing